Managing Rules
There are essentially two parts for an Analysis with THREATGET.
The first part contains the creation of a System Model inside the Enterprise Architect Plugin.
The second part deals with the creation and maintenance of the Rule Database.
The following section shows how you can manage and create rules. You can only change or delete rules you have created yourself. The rules provided by the AIT cannot be edited.
Create a new Rule
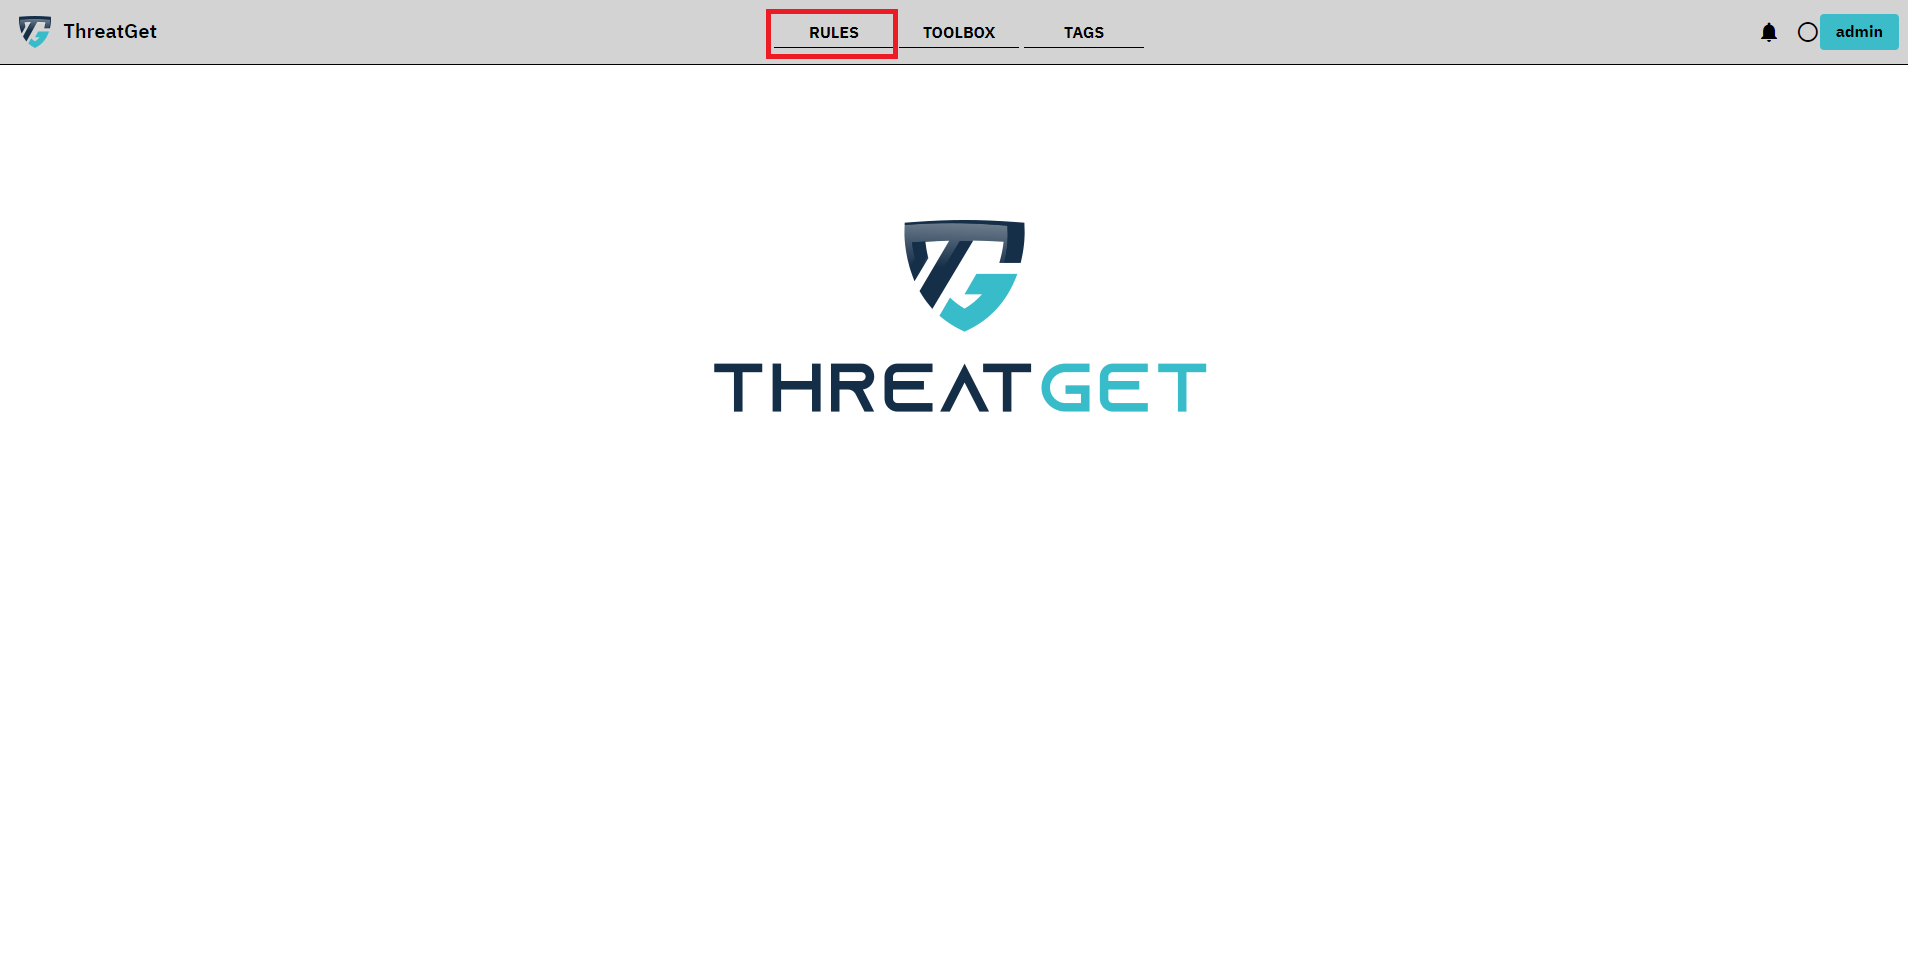
To create a new Rule, you first have to switch to the correct overview.
Please click on Elements in the Navigation bar. RED marked in the picture below.
This opens the overview with the defined rules.
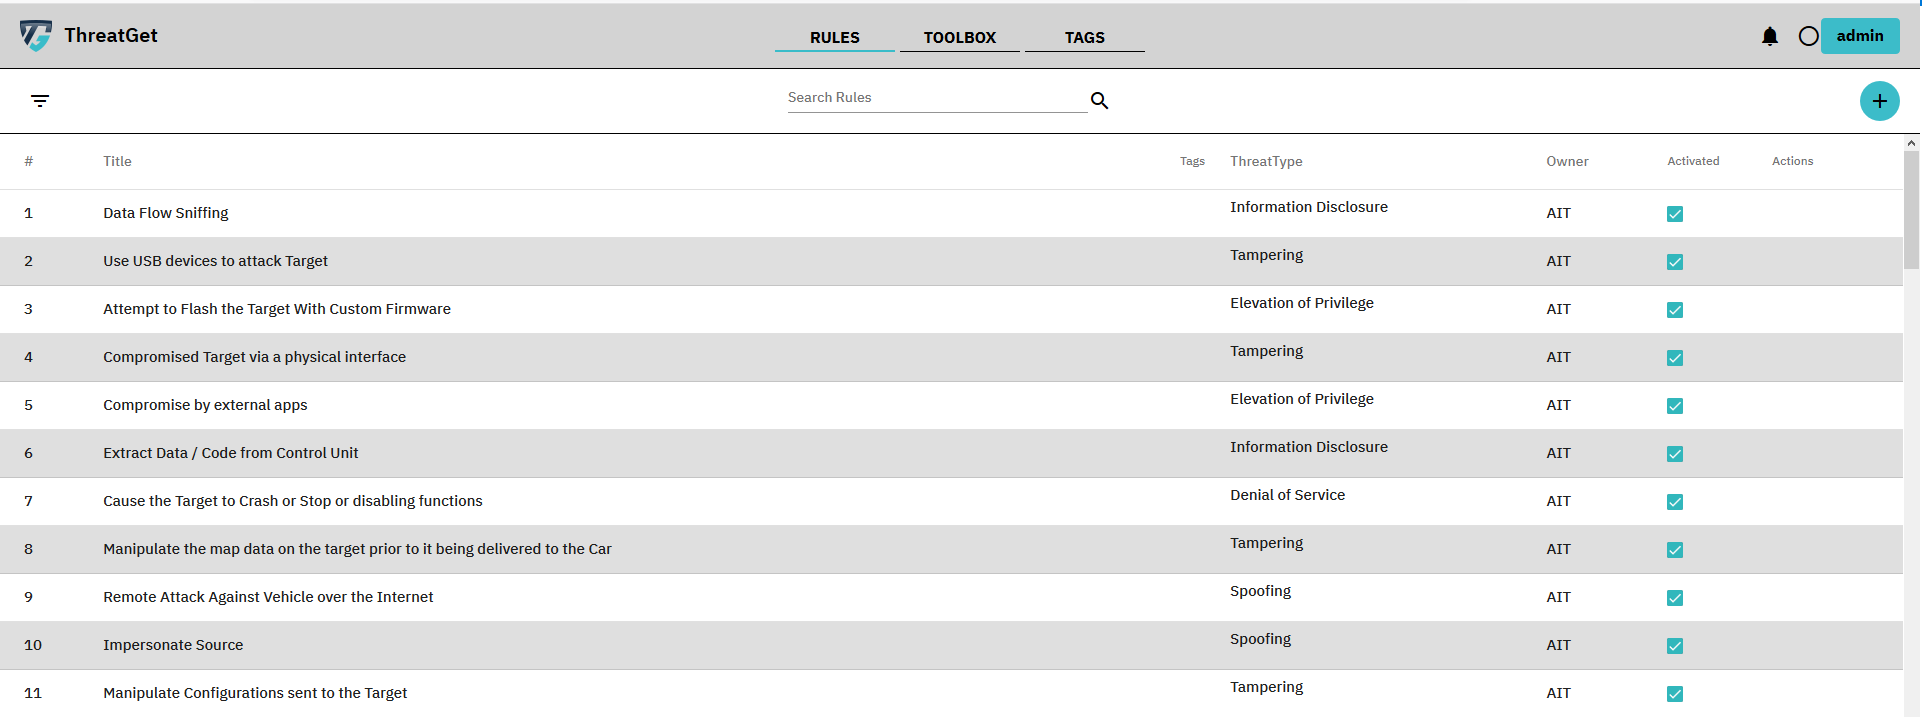
With the Menu button in the left upper corner you can hide/show the left sided menu with the ADD RULE button.
In the mid of the screen you can see a table of all the Rules that are currently availible for an Anlysis.
In the right half of the table you can see a column named Activated. This column shows which rules are considered if you run an Analysis. By clicking the Checkbox you can activate or deactivate a rule.

The last column named Actions shows which actions you can perform on a selected rule. If you hover over a rule the possible actions are displayed. AIT Rules can only be viewed. To view a rule click on the Eye button in the actions column.

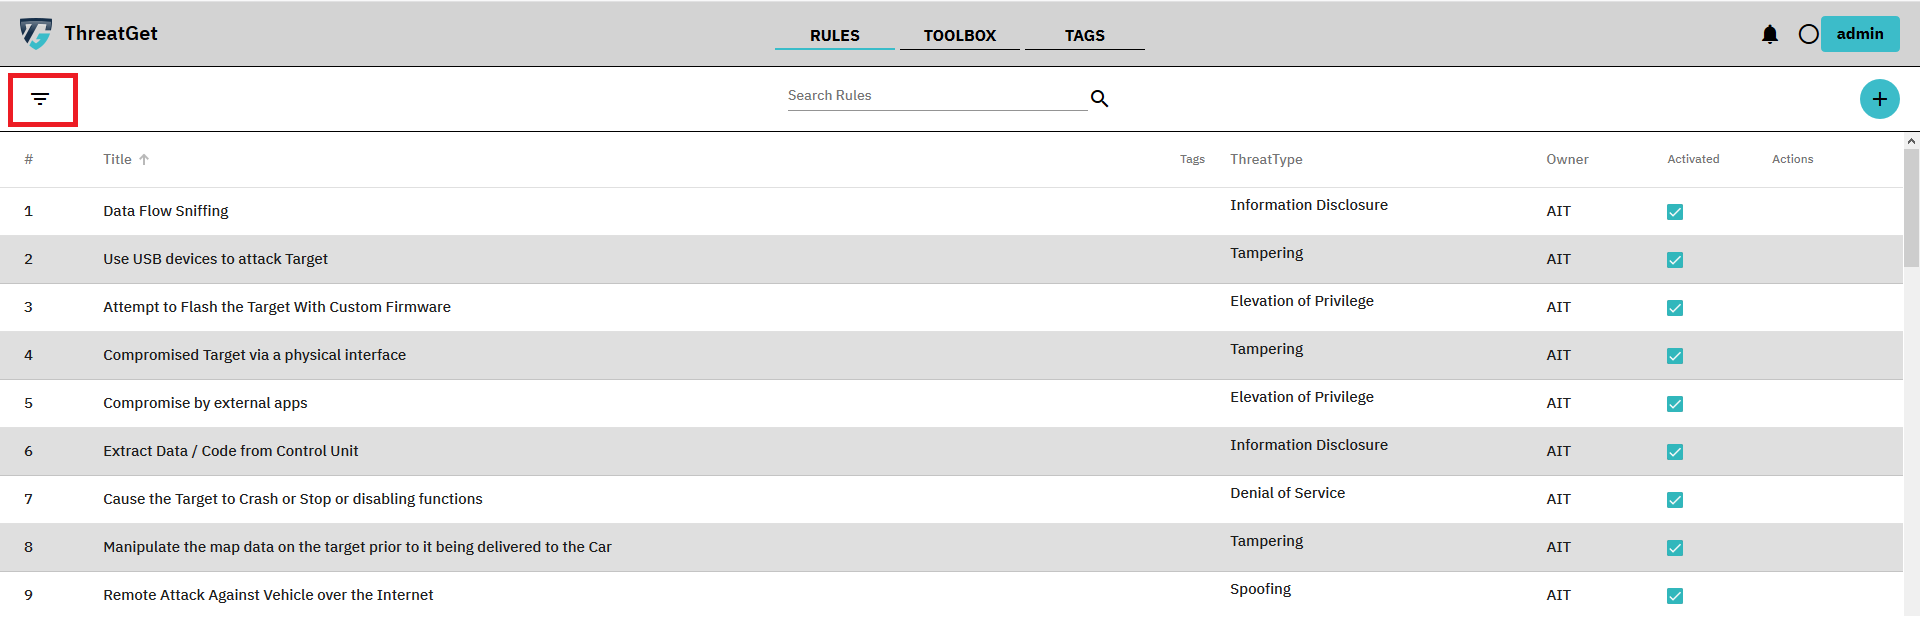
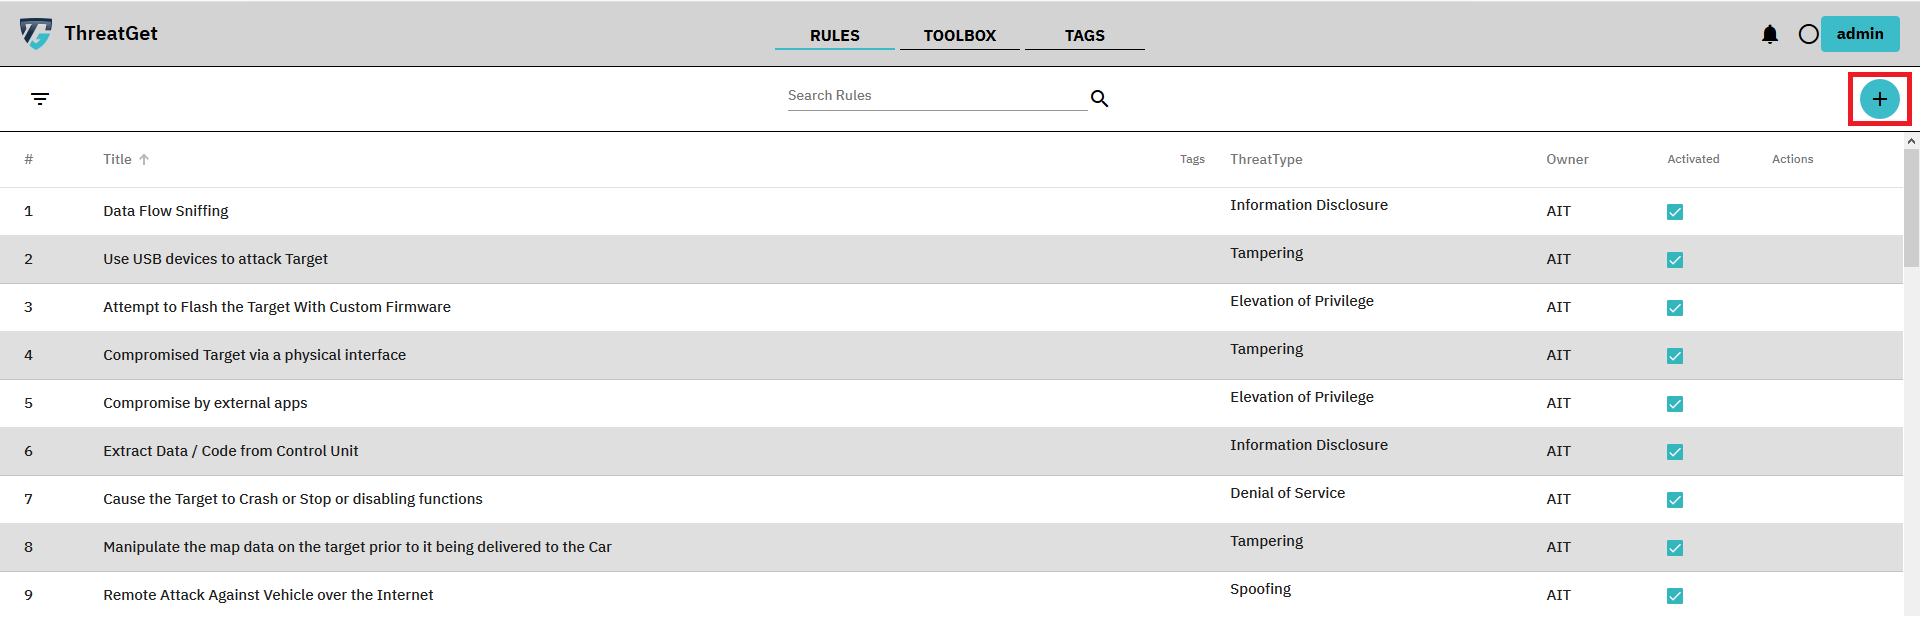
To create a new rule please click on the PLUS button in the right upper corner. RED marked in the picture below.
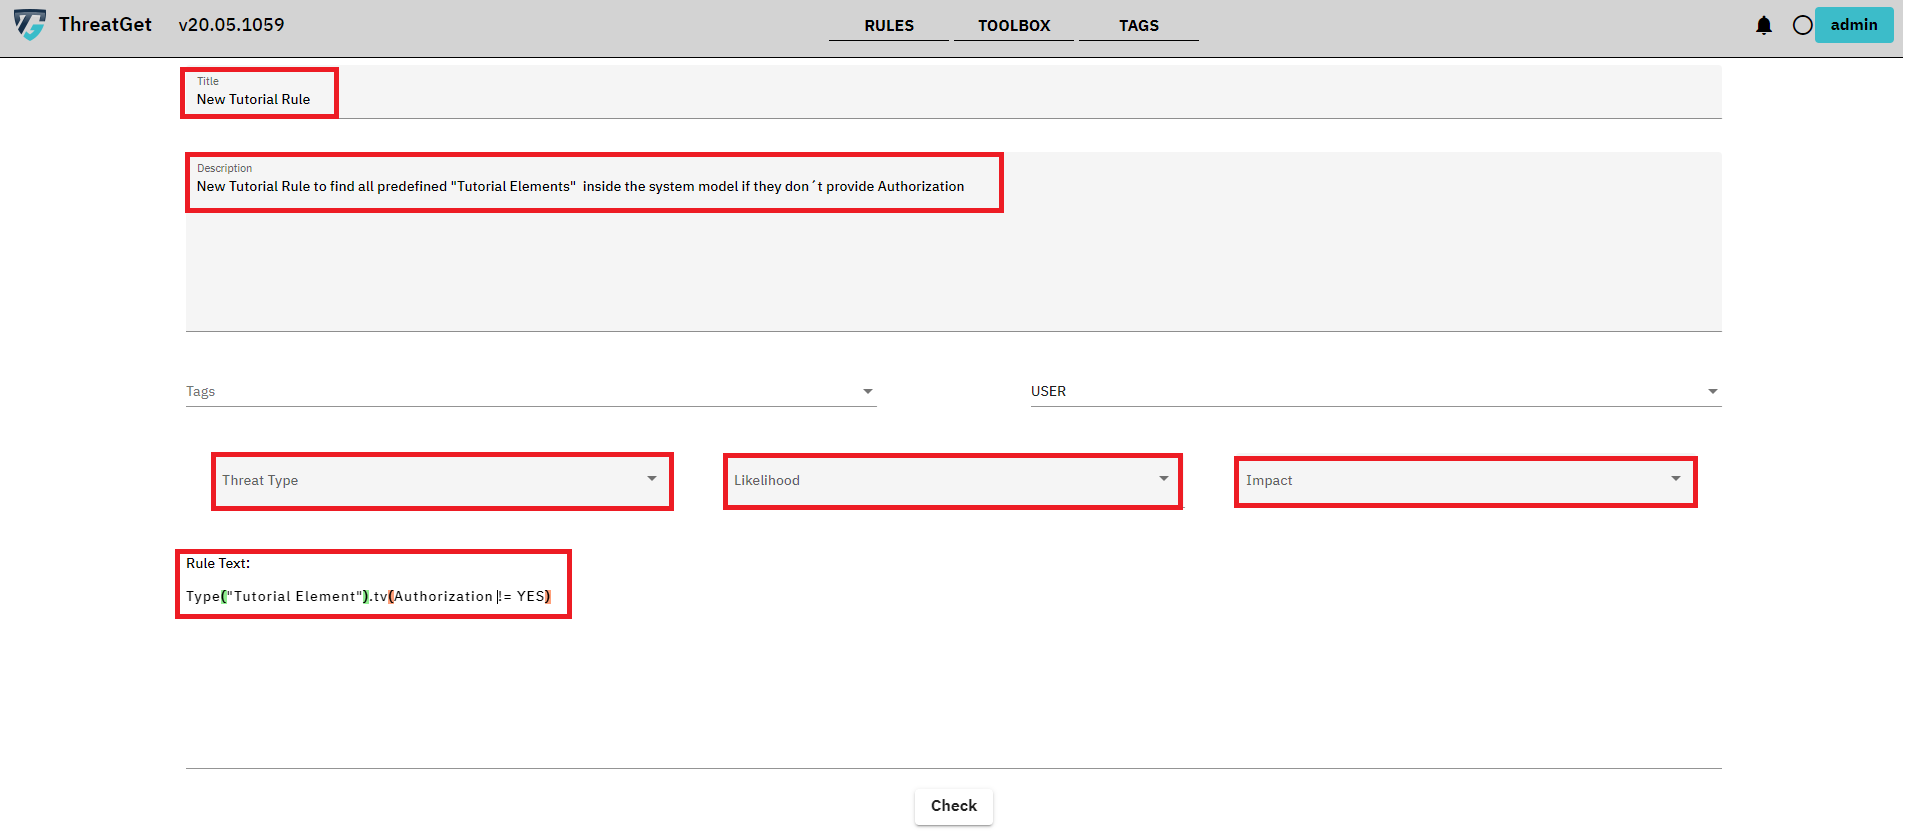
This opens the Rule Editor overview. Here you can enter a Title, Description, ThreatType, Severity , Namespace and the Rule Text for your rule. All rules you create have the default namespace (in the standard installation called "USER"). You can however select a different namespace. The rules created by AIT have the "AIT" namespace. You are not forced to enter a Description but we strongly recommend to do so because the Title may not be enough to understand what the purpose of the specific rule is.
The ThreatType follows the STRIDE standard. STRIDE is a model of threats developed for identifying computer security threats.
STRIDE:
* Spoofing
* Tampering
* Repudiation
* Information disclosure
* Denial of Service
* Elevation of Privilege
Please click on the ThreatType button and select in this case Elevation of Privilege in the appearing Dropdown menu cause we want to check if we provide some kind of Authorization as we described inside the description.
The Severity has four levels:
* Low
* Medium
* High
* Extreme
Please click on the Severity button and select in this case MEDIUM in the appearing Dropdown menu.
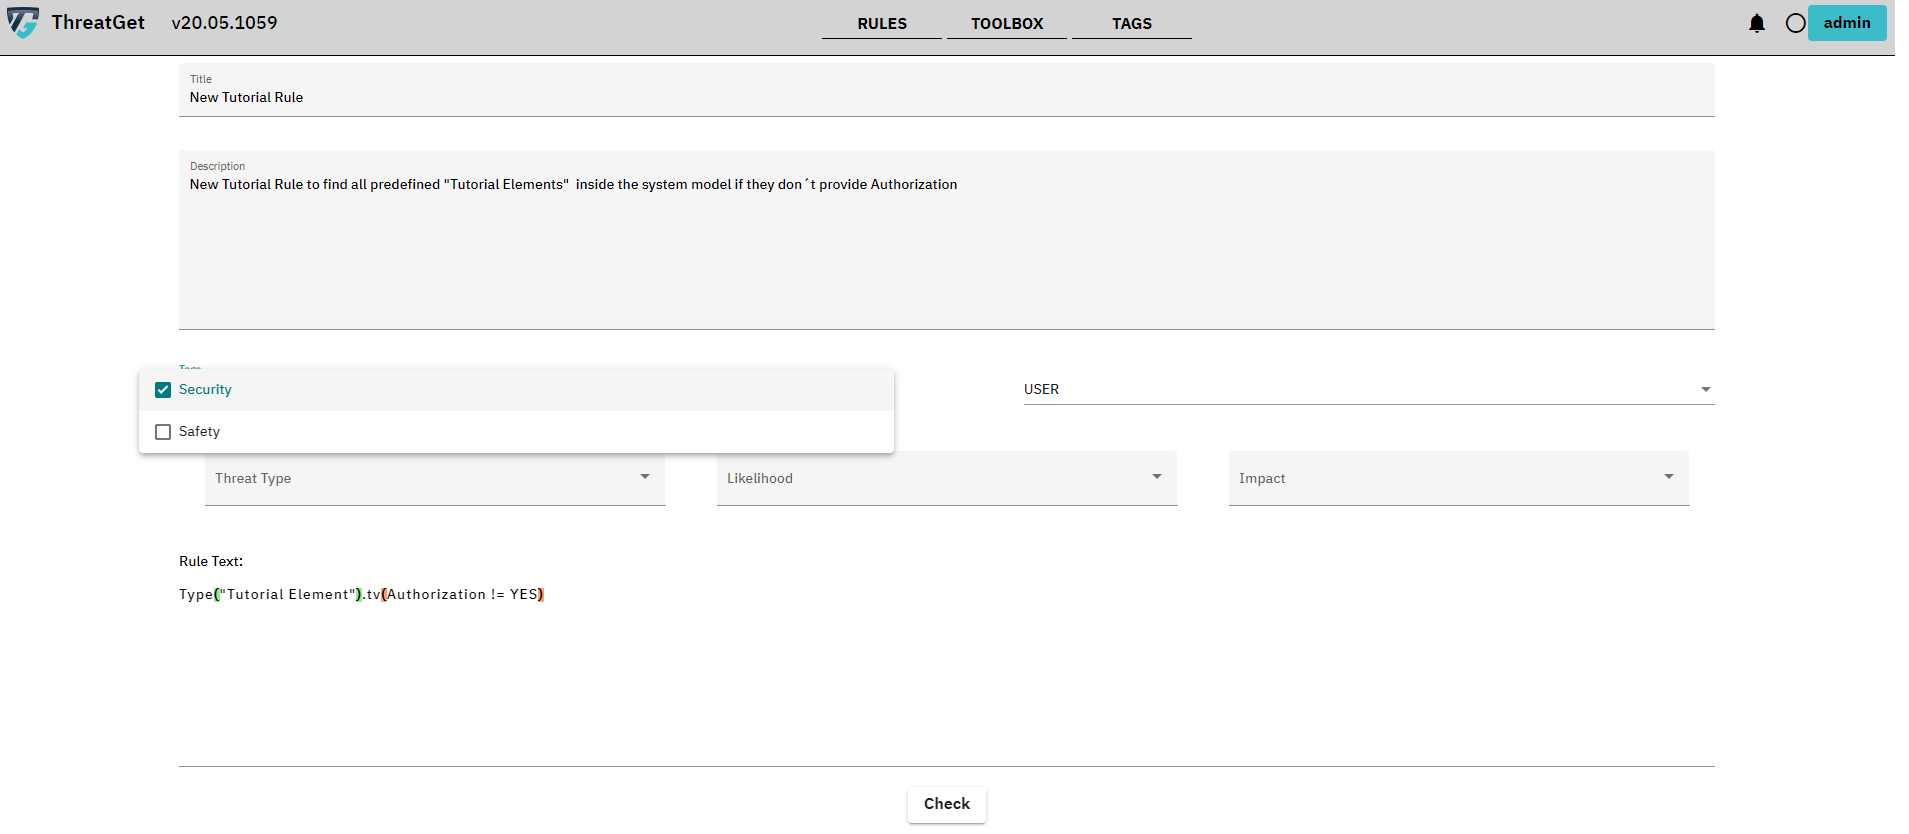
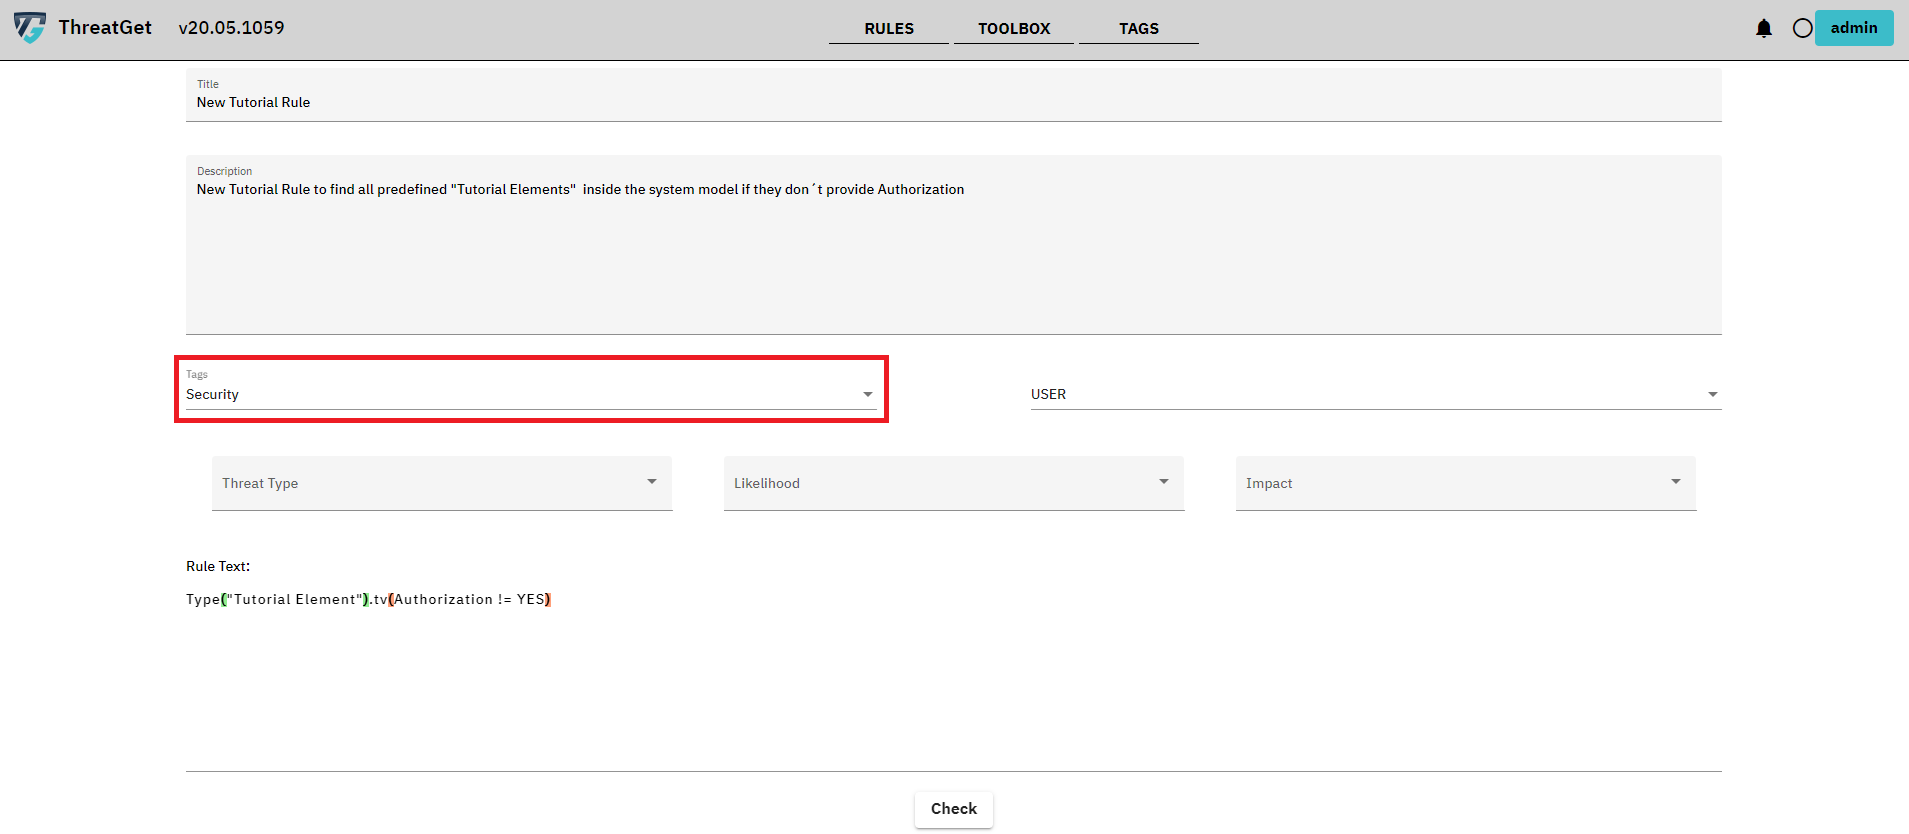
You can also add so called THREATGET Tags to your Rule. These tags are different from the Tagged Values. The purpose of the THREATGET Tags is to group Rules into categories.
To add a THREATGET Tag to a Rule please click on the selectable Tags Input.

You can select as many predefined THREATGET Tags as you want.
To learn how to create new THREATGET Tags please see the documentation for tag creation
After you added enough tags you can disselect the selection and the tags are added to the element.
The simple rule to check this case is:
Type("Tutorial Element").tv(Authorization != YES)
To learn how the Syntax of rules works please see the documentation for rule creation
If you have filled out everything you can click on the Check button at the buttom of the screen. RED marked in the picture below.
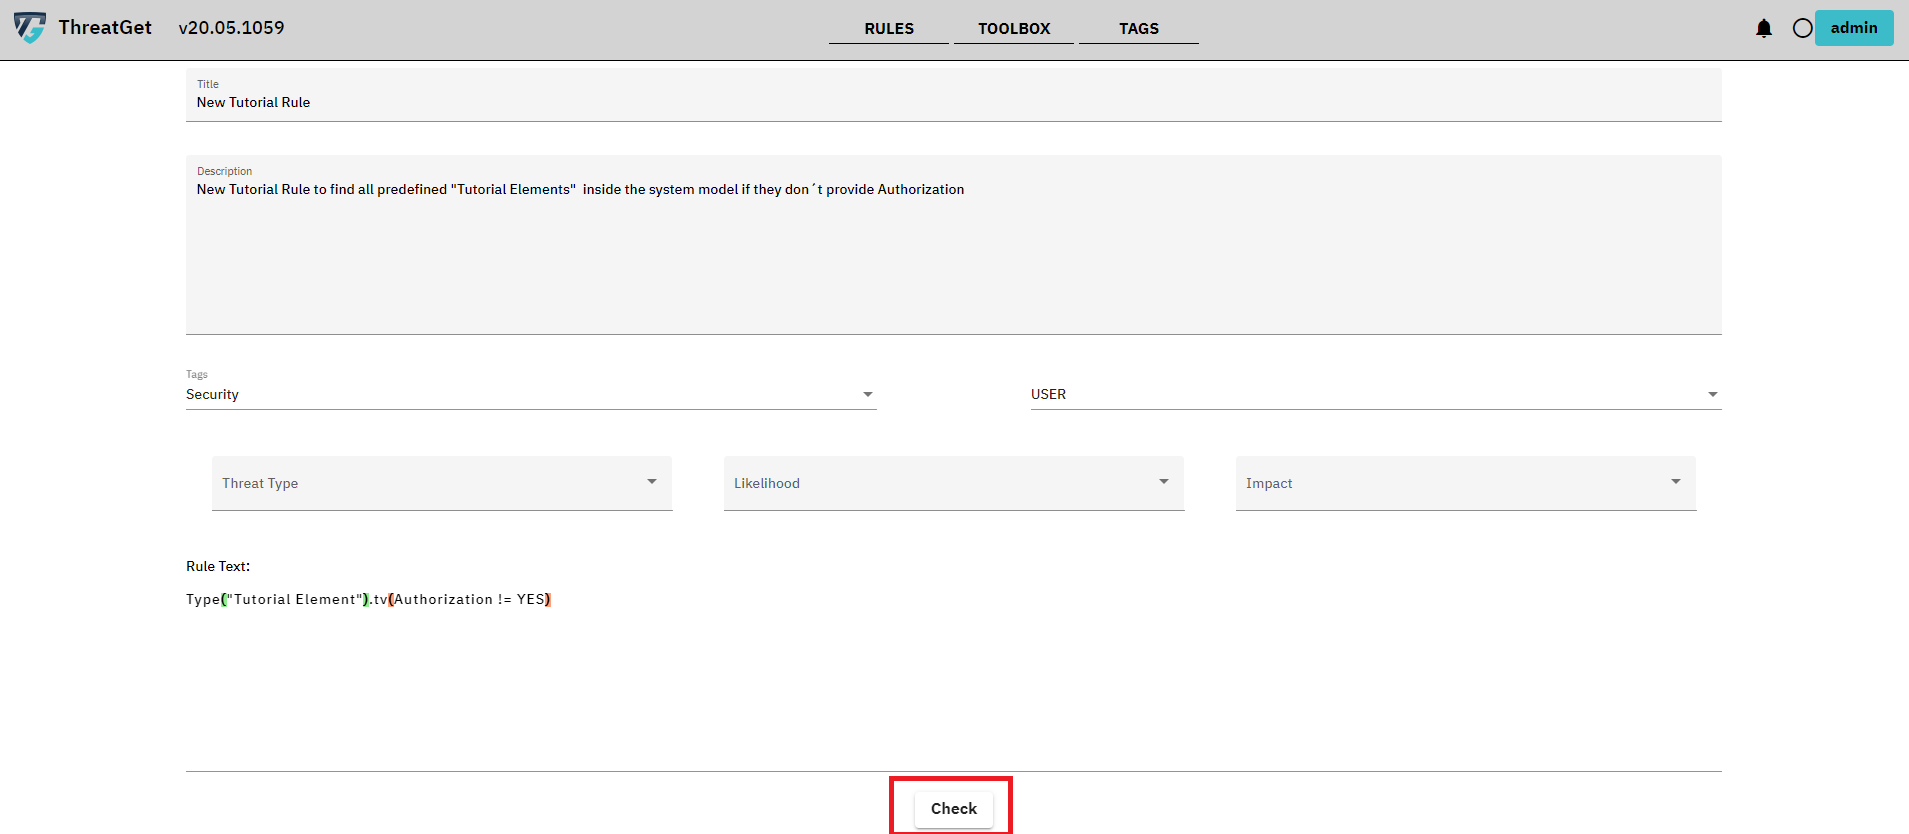
The application now checks in the background whether your entered rule is syntactically correct.
As you can see the Check button got replaced with a Save button. This means that the rule was syntactically correct and can now be saved.
But before we save the rule we want to see what happens if the rule contains an error. Please change the Rule Text to:
Type("Tutorial Element").tv(Authorization )
Now you can recheck the rule again so please click the Check button again.
This results in an ERROR Dialog which says Unexprected: ")". The error is also marked RED.
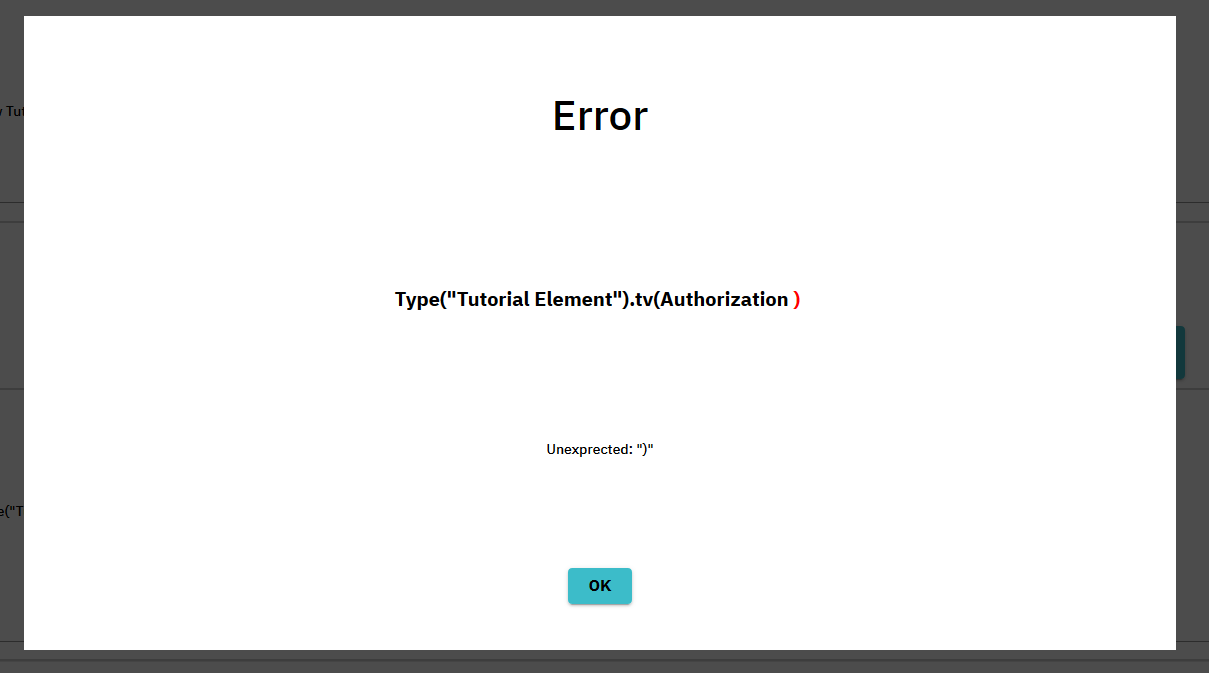
Click OK to close the dialog and then change the rule back to the state it was correct.
Type("Tutorial Element").tv(Authorization != YES)
Click Check again and then SAVE to save the rule. A new dialog will say Rule Created please confirm by clicking OK.
You will be redirected to the rule overview. Here you can see now that the new rule got added to our rule database.

If you hover over the rule you can see in the last column Actions a Pencil button and a Cross button.
By clicking the Pencil button you can EDIT this rule.
By clicking the Cross button you can DELETE this rule.
You can see the added THREATGET Tags next to the name of the Rule.
You are also able to search for rules with certain tags inside the Search Bar above.
