Rules
Overview
There are essentially two parts for an Analysis with ThreatGet. The first part contains the creation of a System Model. The second part deals with the creation and maintenance of the Rules. The following section shows how you can manage and create rules.
Within Rules, users can create, edit, and delete only the rules they have defined within the associated unpublished catalog release.
Rules from a downloaded AIT catalog are protected and cannot be altered, which preserves consistency, reliability, and comparability across standardized analyses. There is the possibility to copy a downloaded catalog release and its rules to an existing or new catalog to enable customization.
Rules play a critical role in the system, as they directly influence how analyses are executed and interpreted. While user-defined rules remain flexible and can be adjusted to meet specific needs, this flexibility is limited to the development phase. Modifications are allowed only as long as the corresponding catalog release has not yet been officially published.
To create, alter or delete a catalog, its releases, toolbox and rules the Cybersecurity Architect role is required.
Managing Rules
Create a New Rule
To create a new Rule, you first have to navigate to custom catalog with an upublished release.
To learn more about the ThreatGet catalog and its releases check out our Catalogs and CatalogRelease section. . Do so by clicking on Rules in the navigation bar.
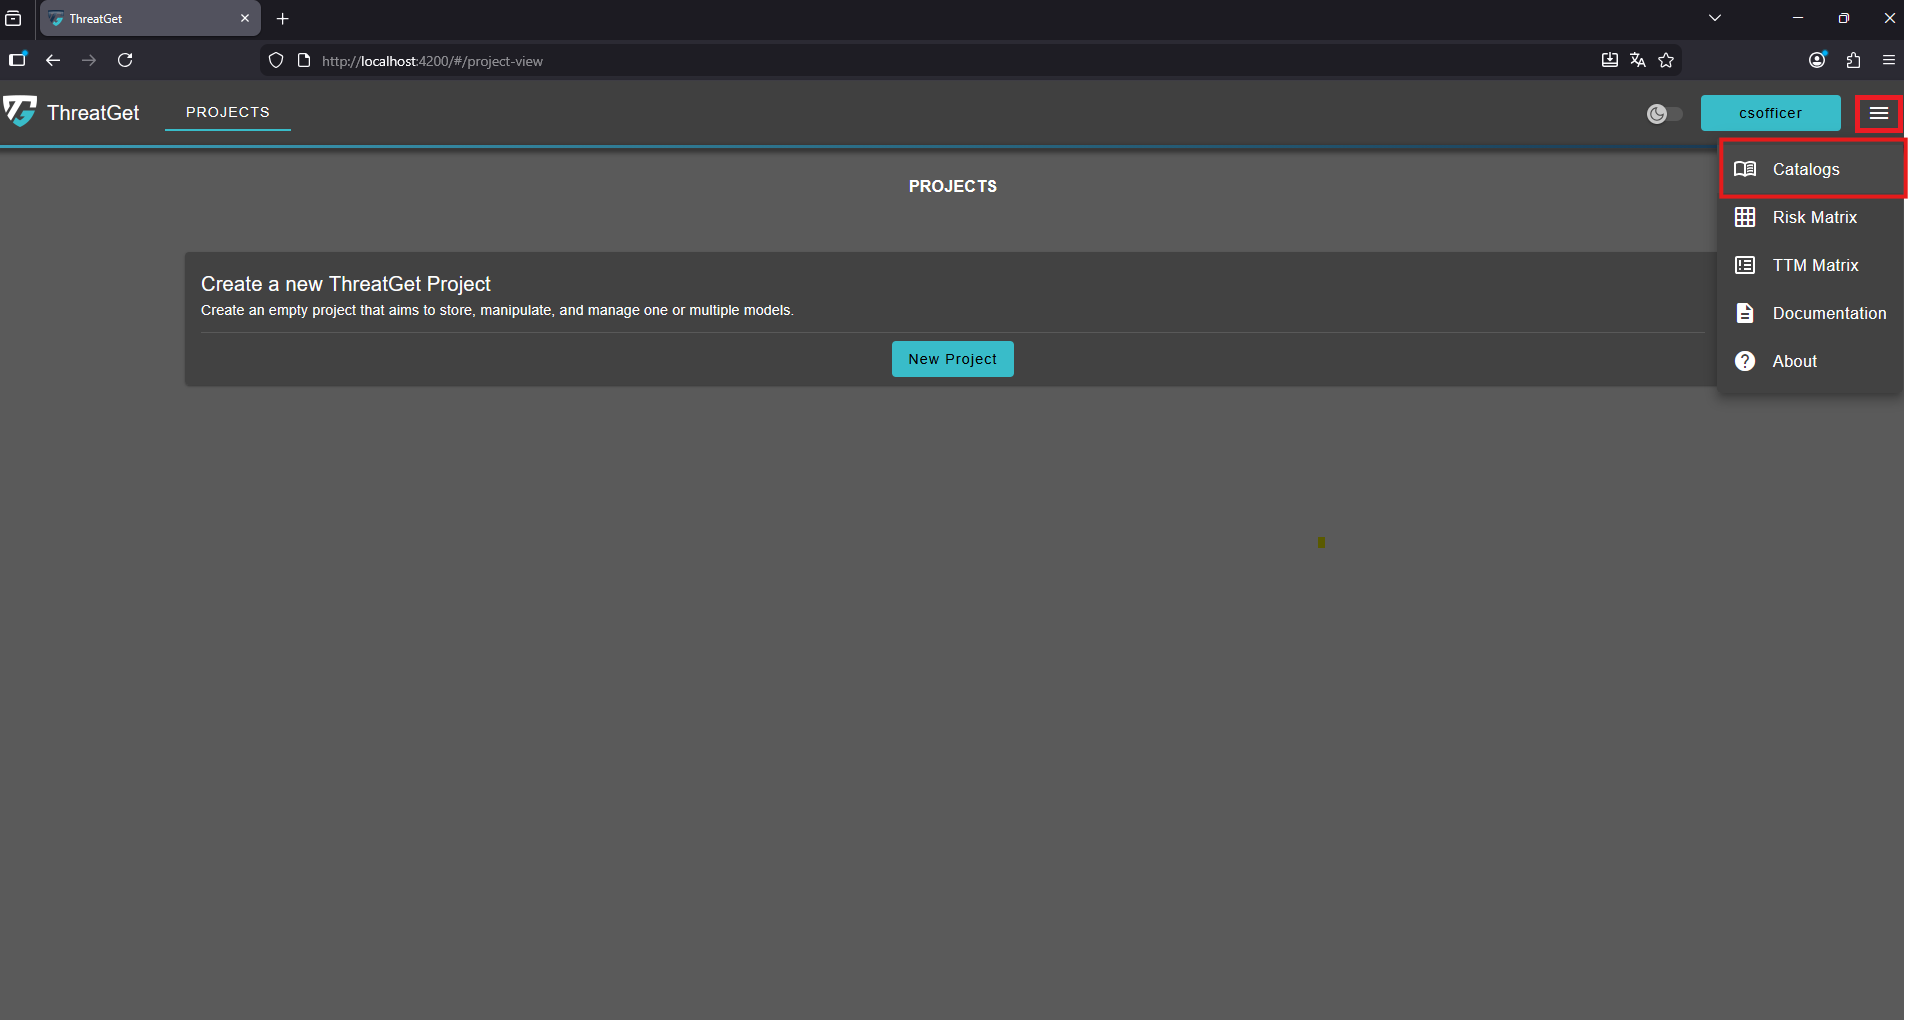
To access the catalogs overview click the "menu" button in the top-right corner and select Catalogs from the navigation menu.
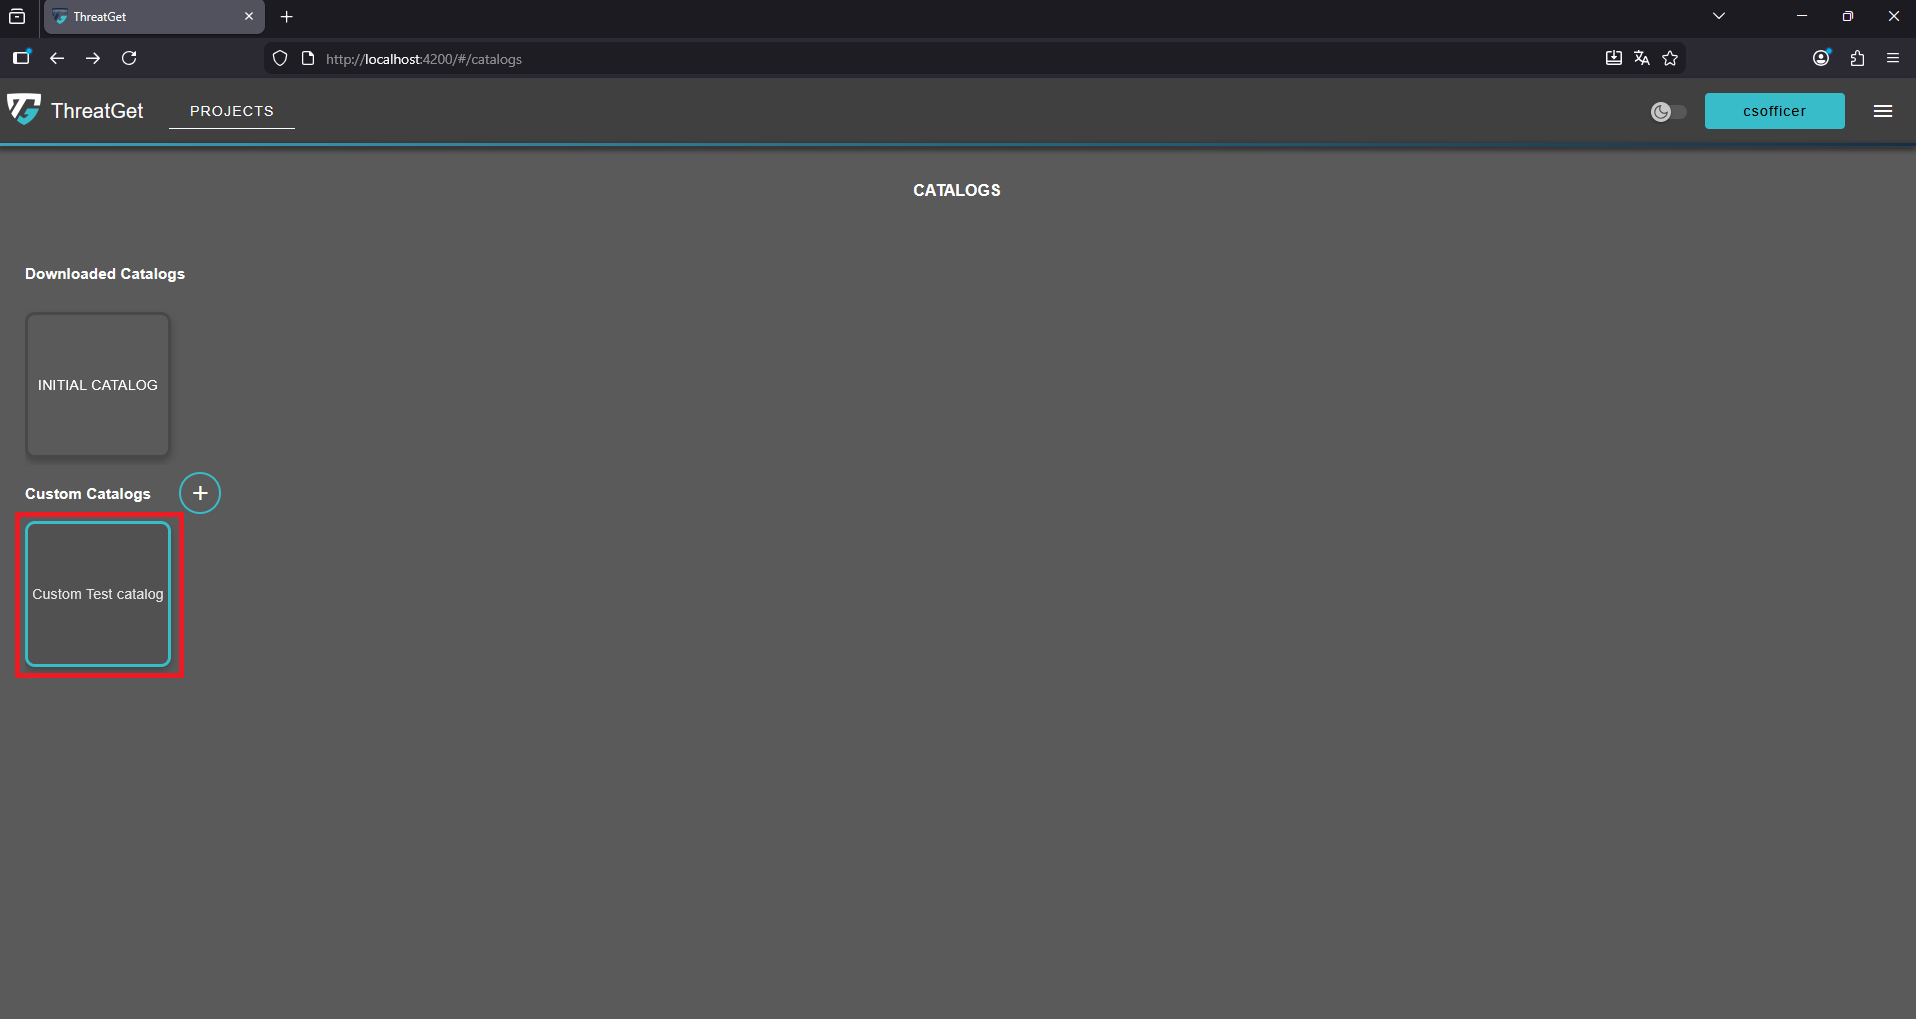
Click on a catalog to open it and access its contents.
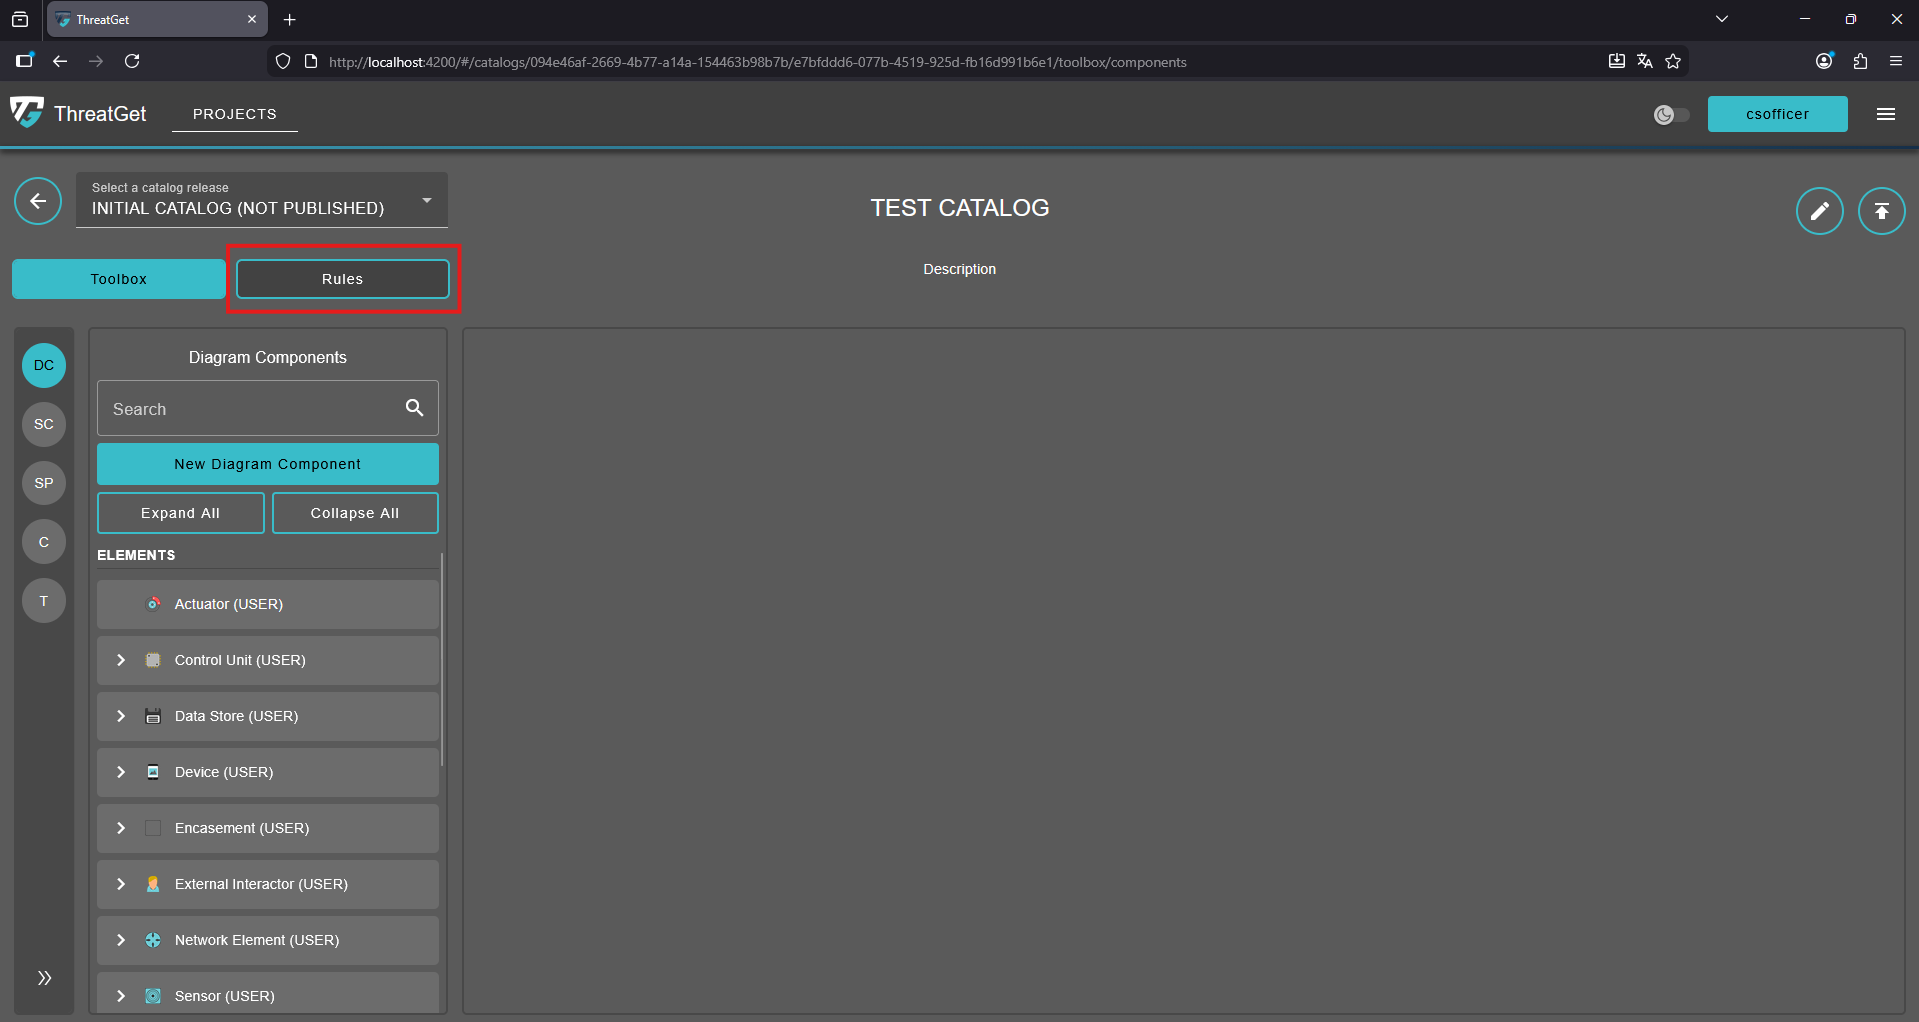
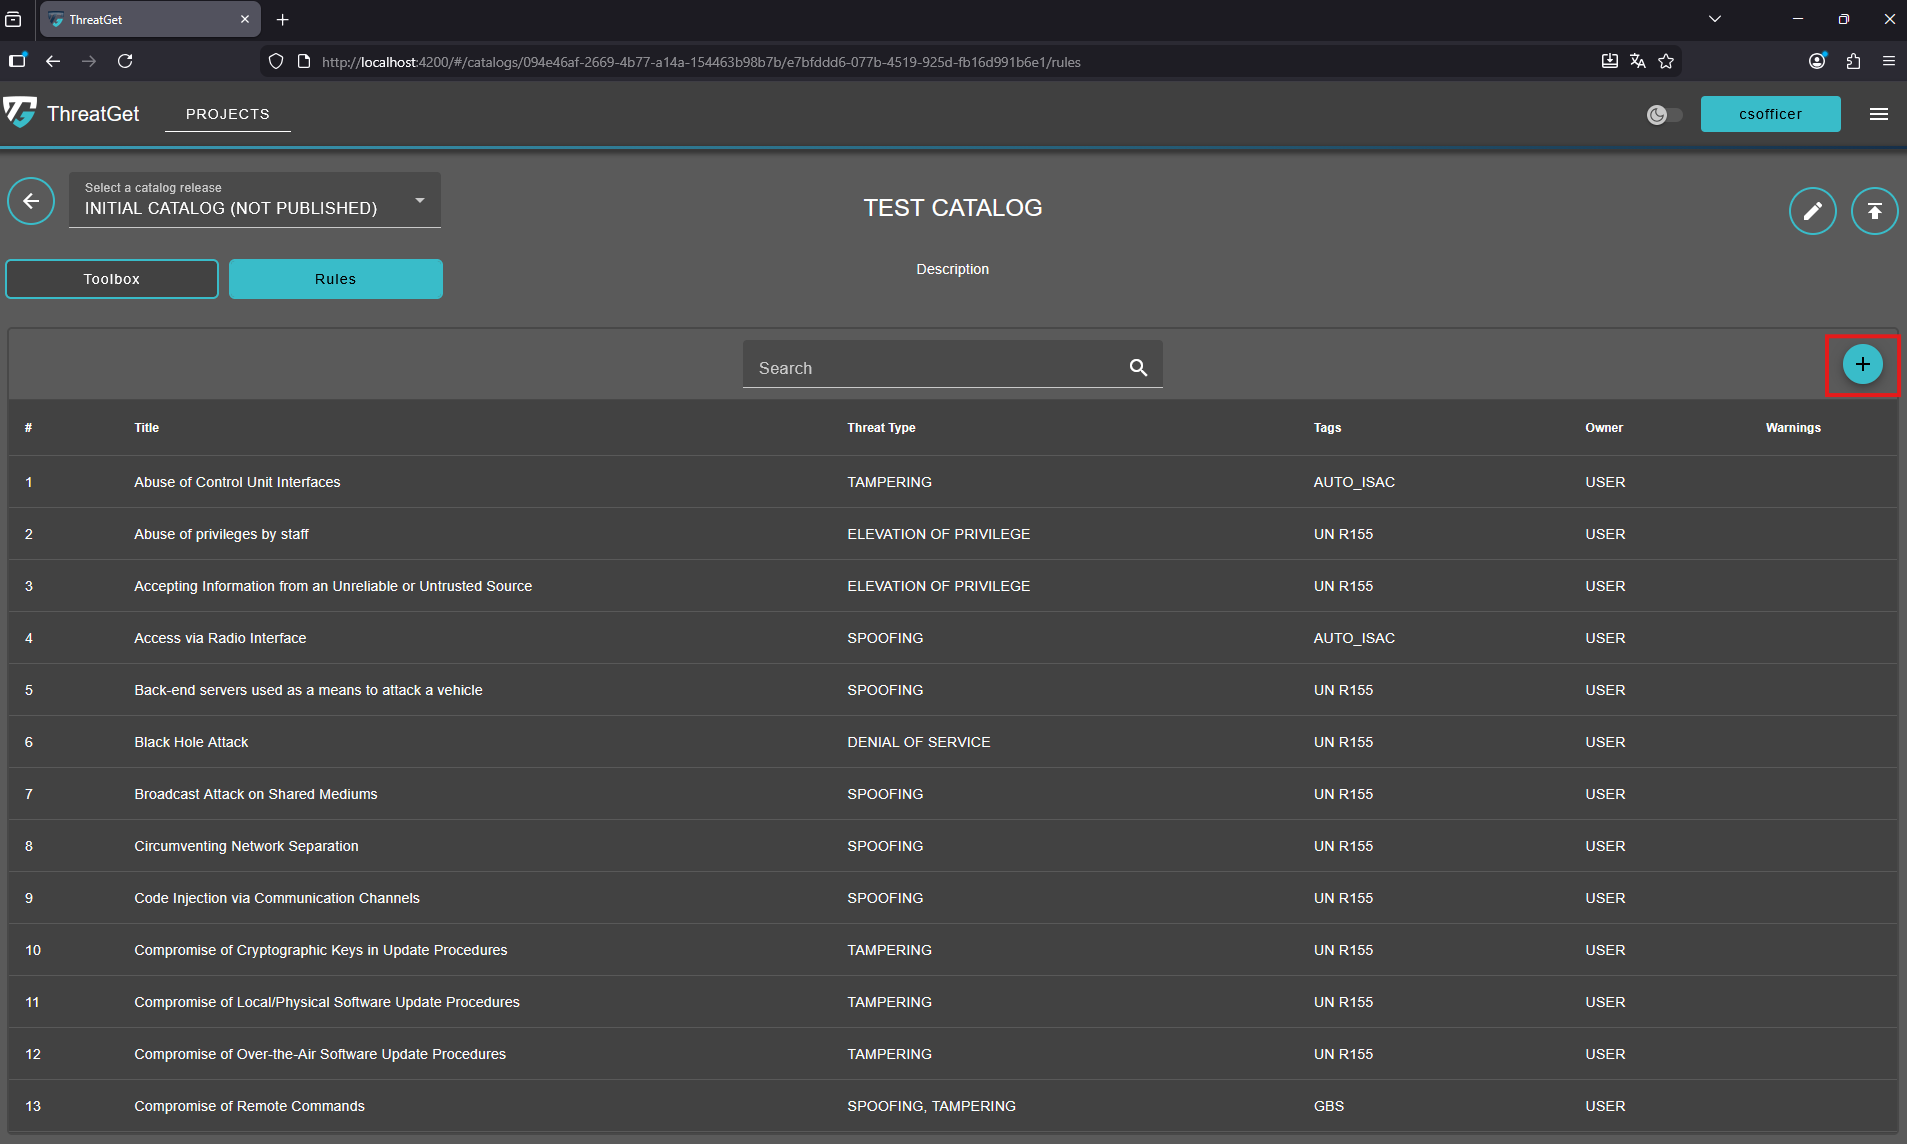
Click on the "Rules" button to naviagte to the rules page of the current catalog release.
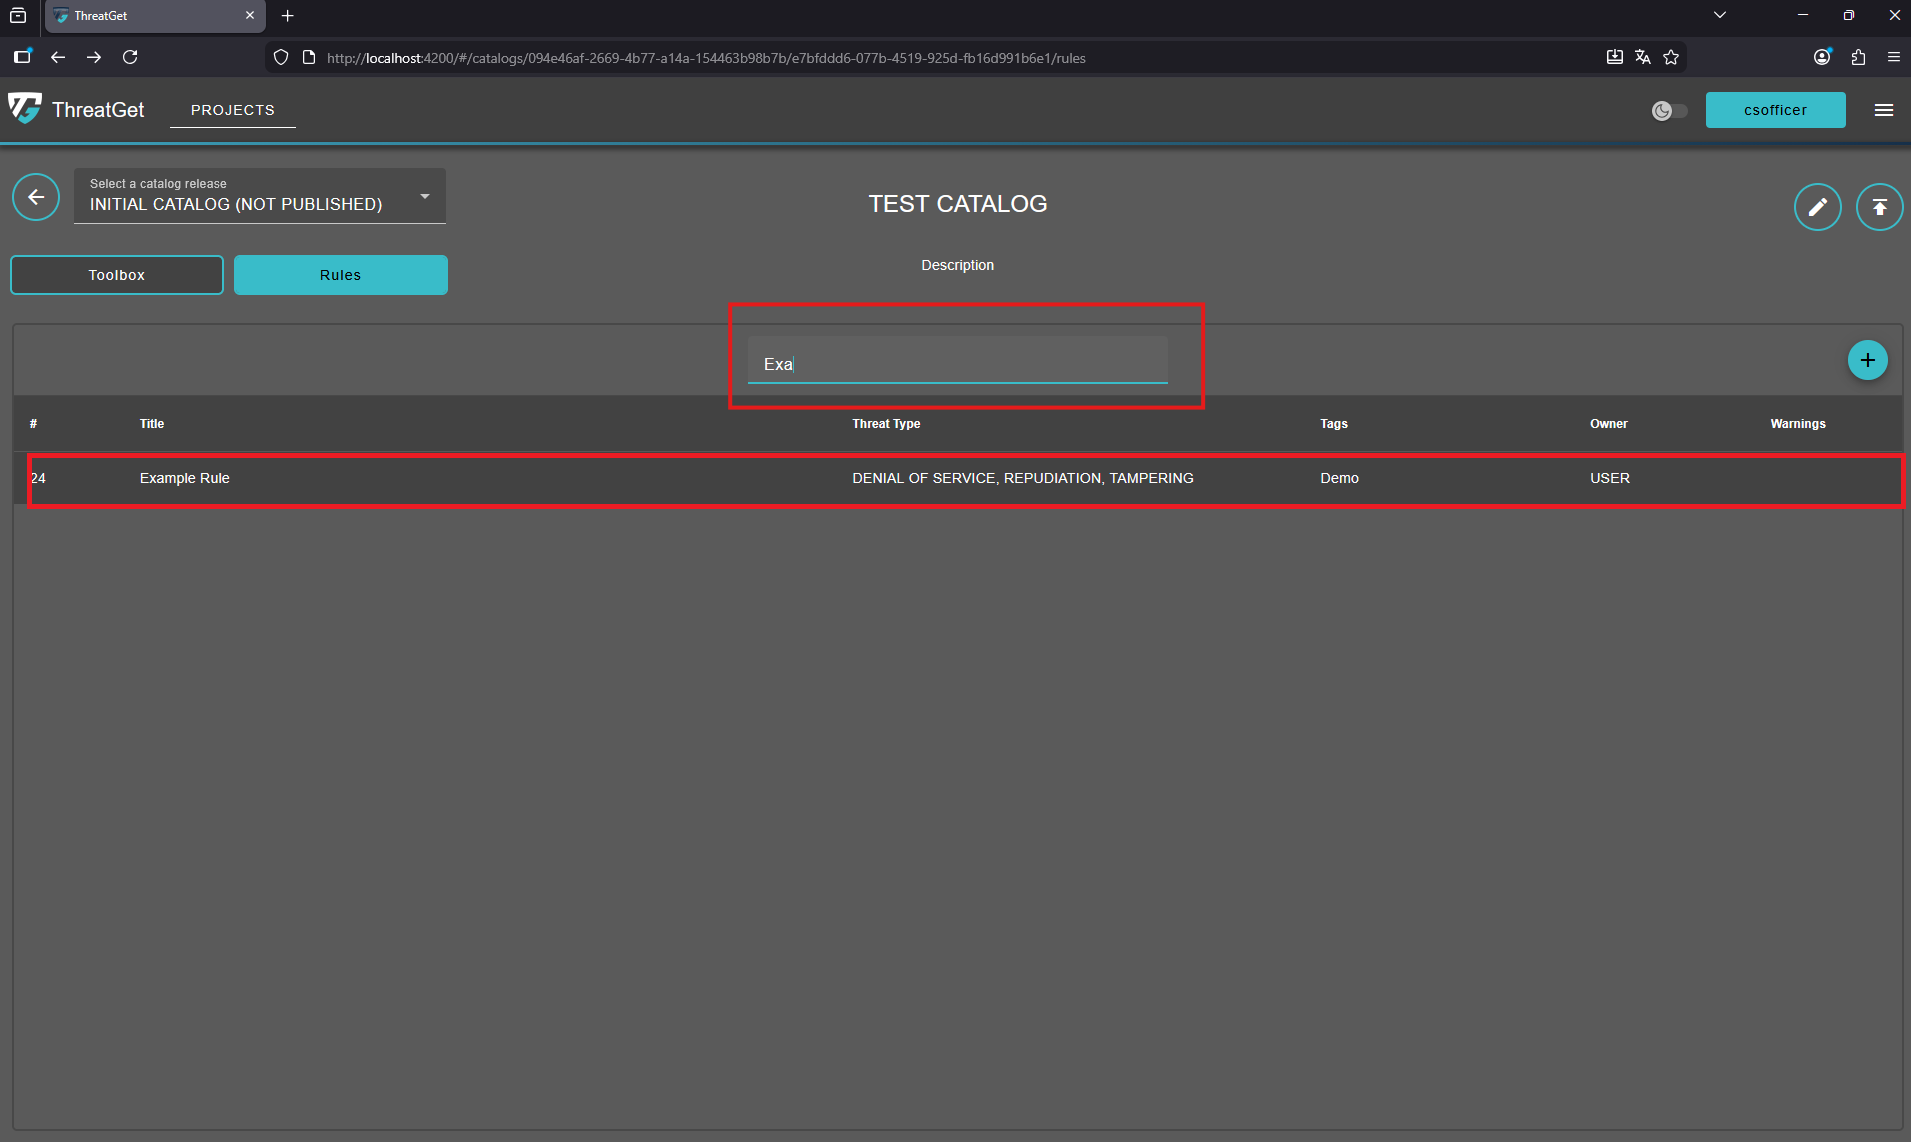
All previously created rules are listed in this list. Each rule has the following attributes: Title, Threat Type, Tags, Owner, and Warnings.

Hovering over any of the listed rules will display a "trash can" icon, allowing you to delete it.

To view or edit a rule, click on its row. Note that rules in a published release or in a downloaded catalog release cannot be modified.
To create a new rule simply click on the "+" button on the top-right corner of the rules overview.
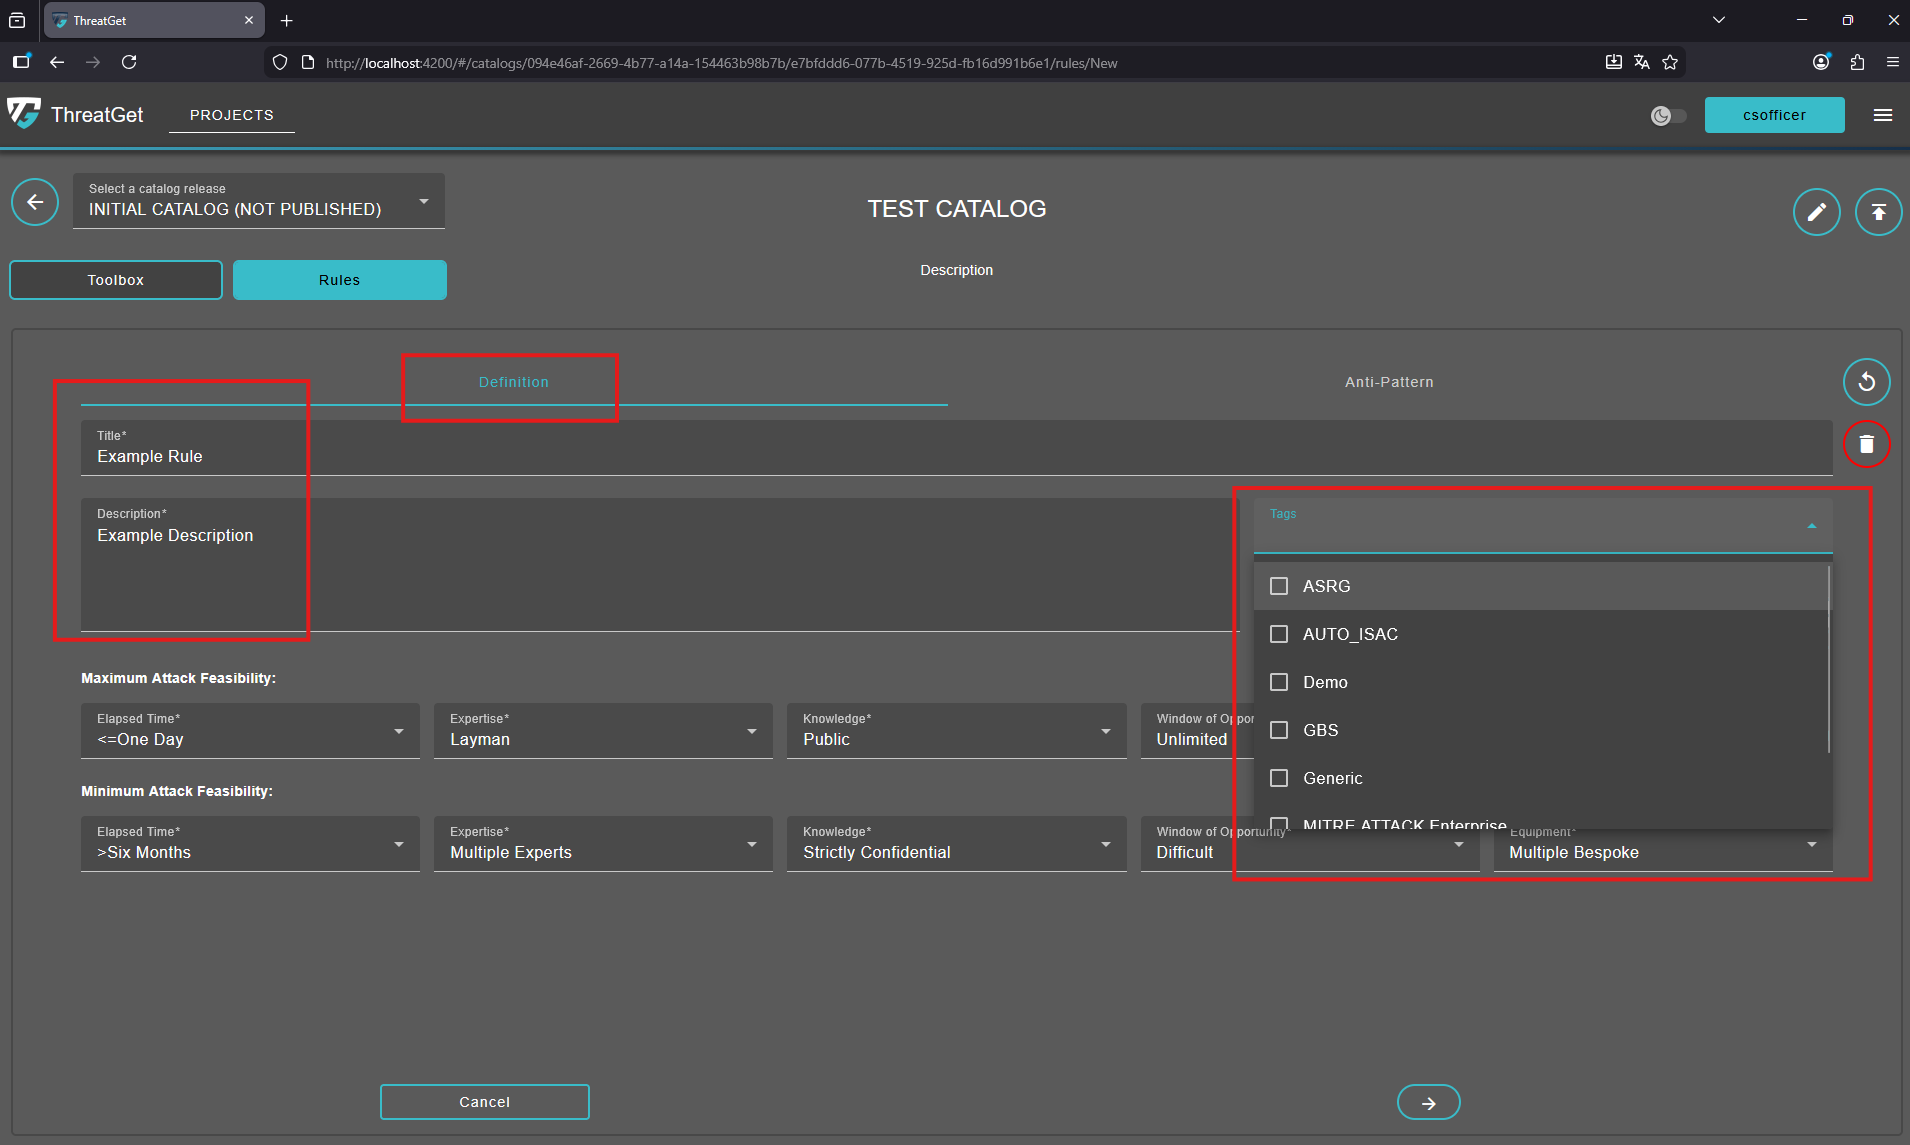
This opens the Rule Editor view, which includes two primary tabs
- Definition
- Anti-Pattern
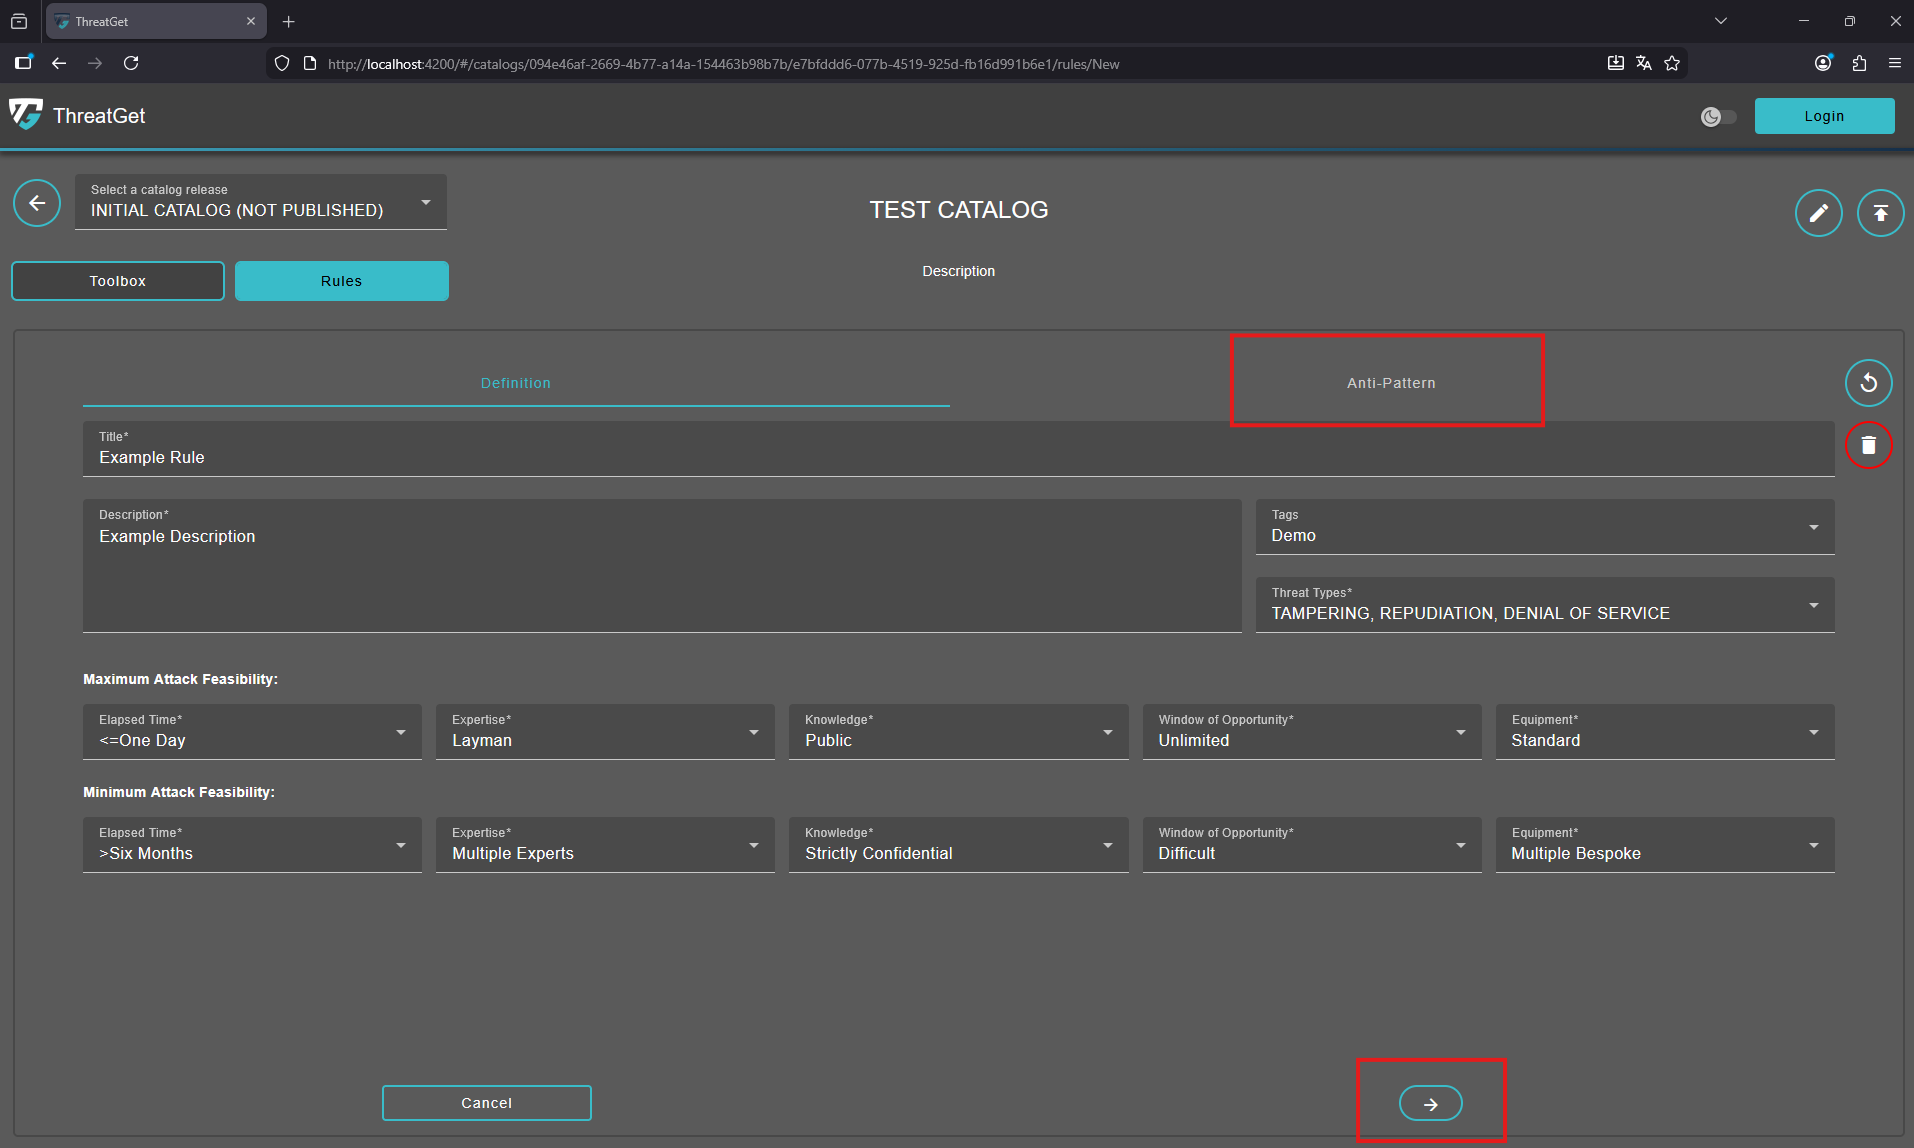
Definition
Title, Description, Tags, Threat Types, Maximum Attack Feasibility, and Minimum Attack Feasibility are all provided in the first tap Definition.
Enter a clear and descriptive rule title, provide a detailed description explaining its purpose, and select an appropriate pre-defined tag that best matches the rule’s category. To learn how to create new ThreatGet Tag please see the documentation for tag creation.
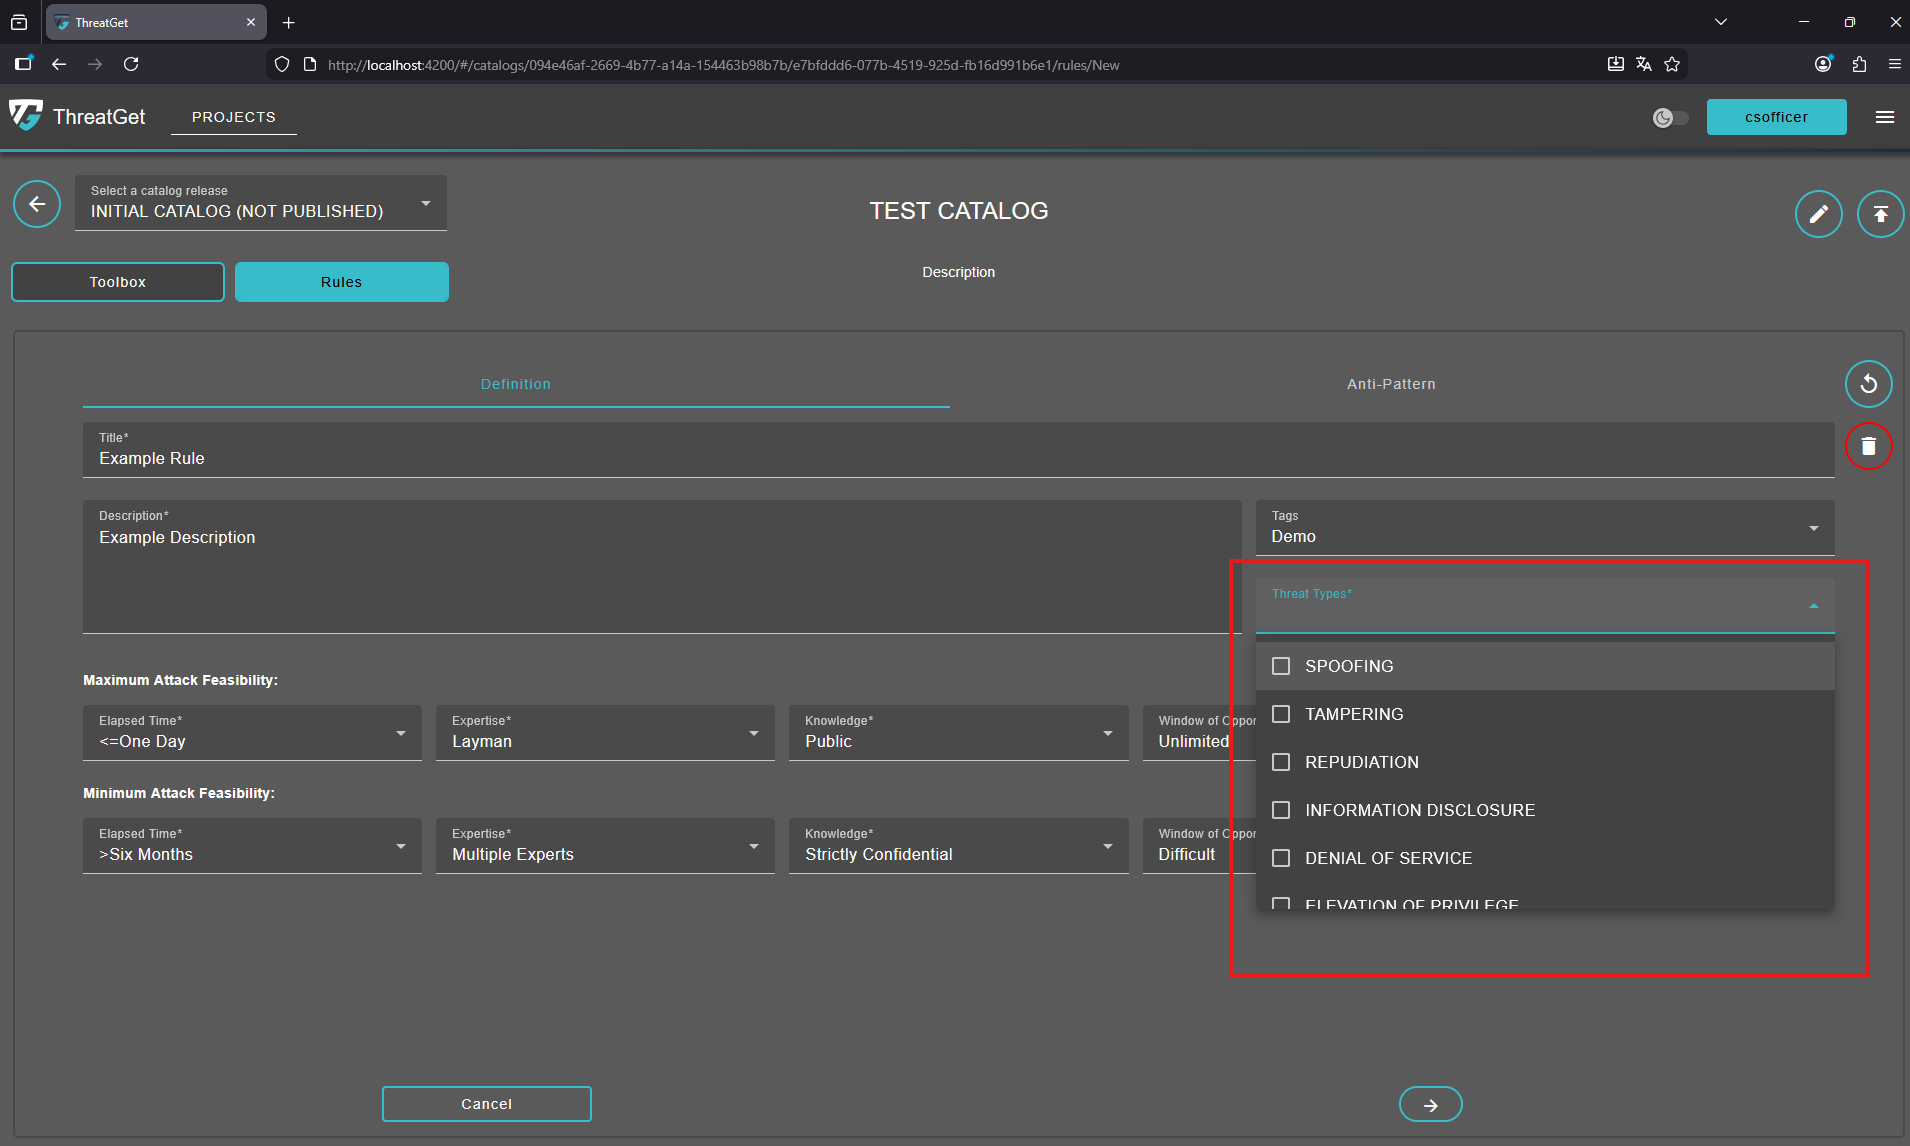
Choose the relevant threat type for your new rule, ensuring it accurately reflects the nature of the risk or scenario the rule is intended to address. The Threat Type follows the STRIDE standard. STRIDE is a model of threats developed for identifying computer security threats.
STRIDE:
- Spoofing
- Tampering
- Repudiation
- Information disclosure
- Denial of Service
- Elevation of Privilege
Set the required Maximum and Minimum Attack Feasibility of Elapsed Time.
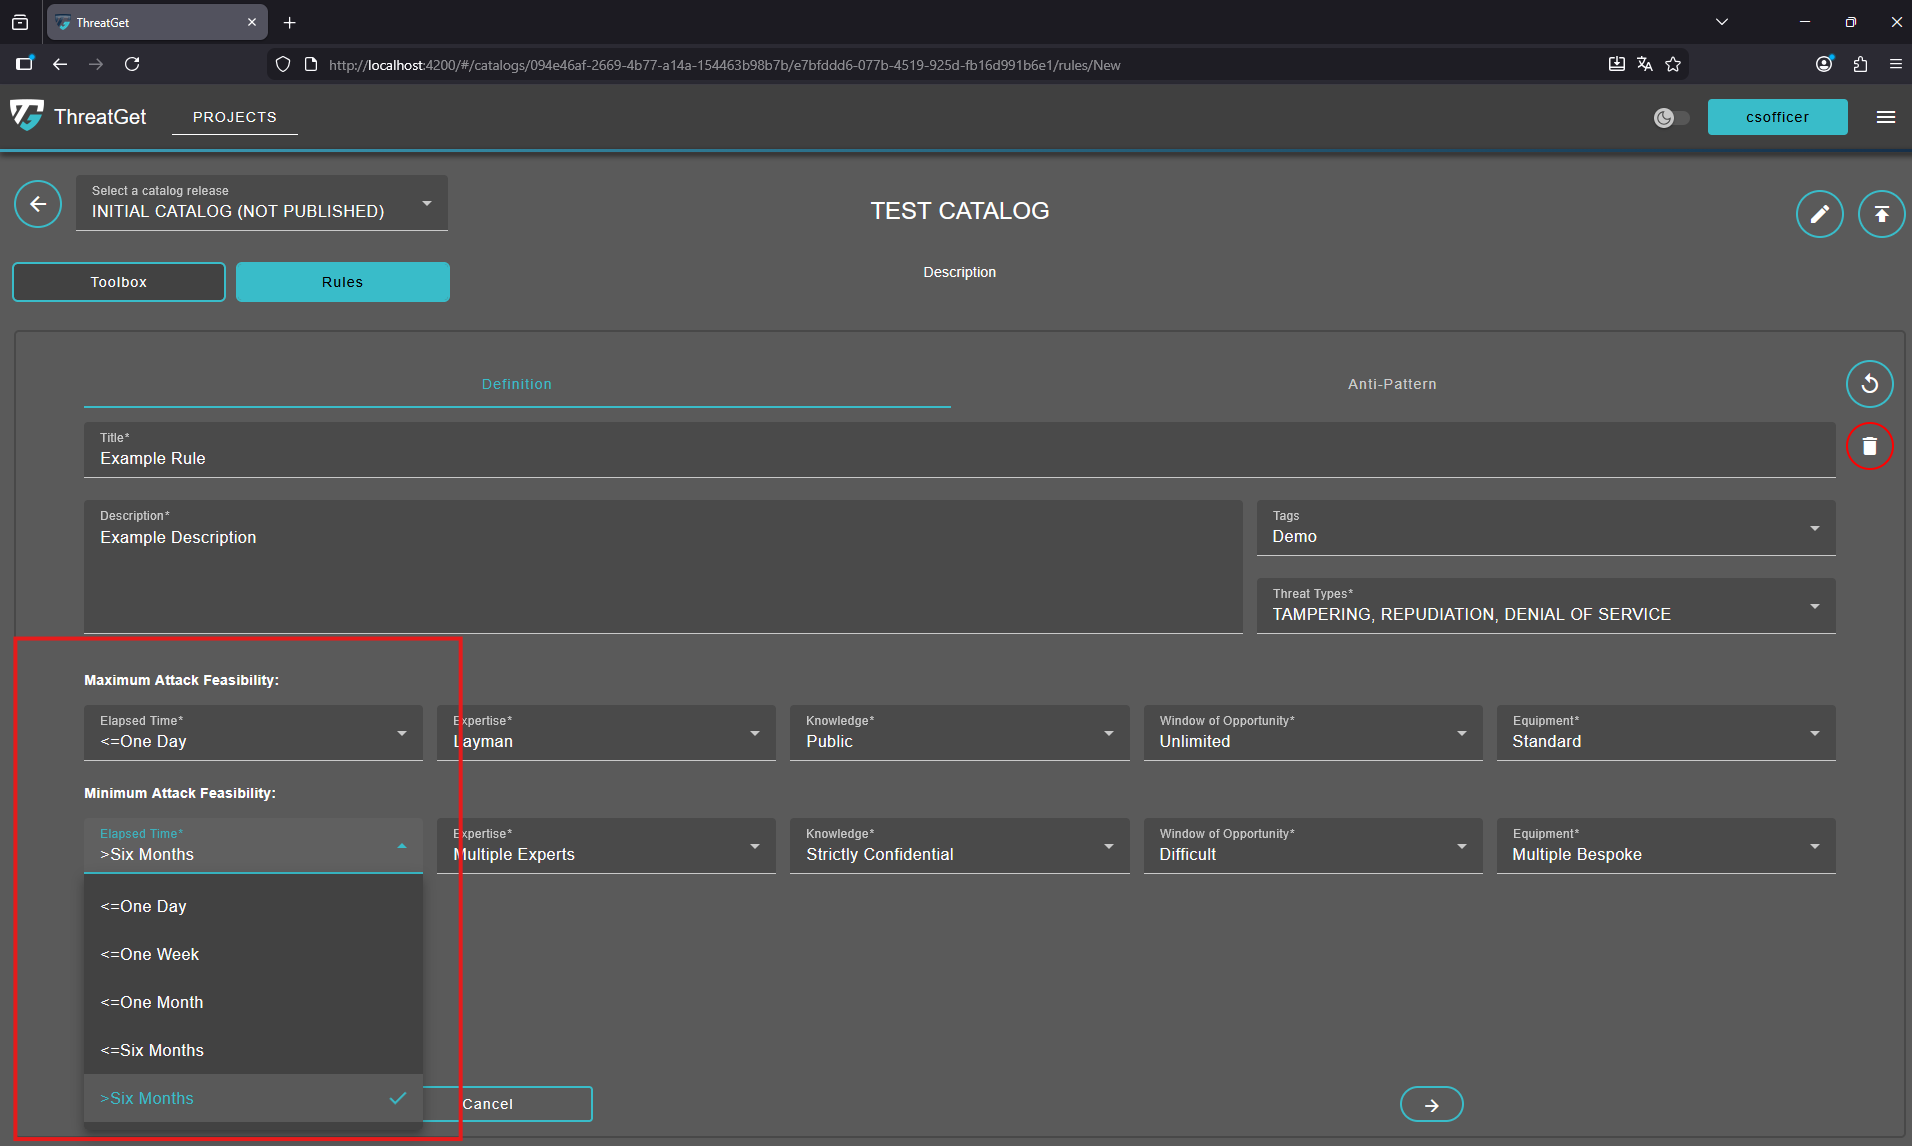
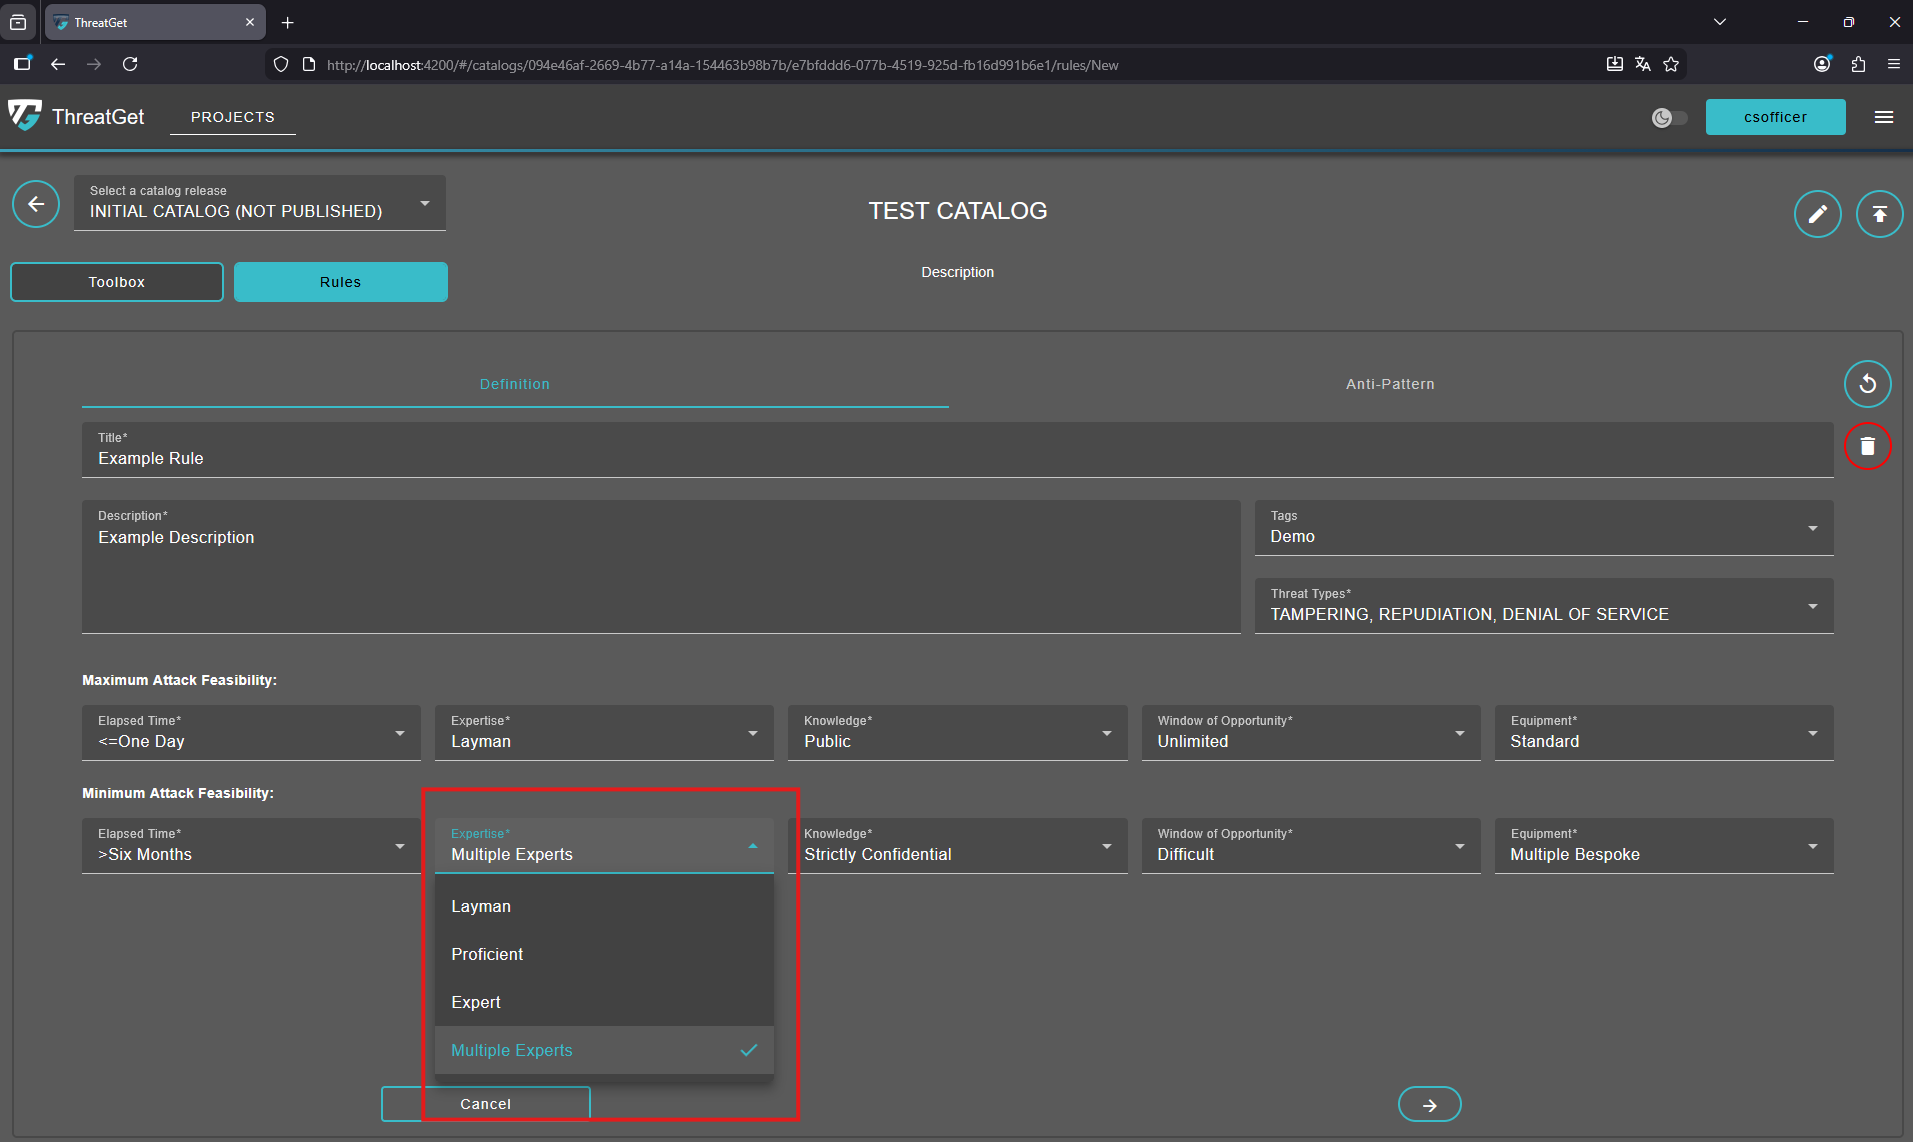
Set the required Maximum and Minimum Attack Feasibility of Expertise.
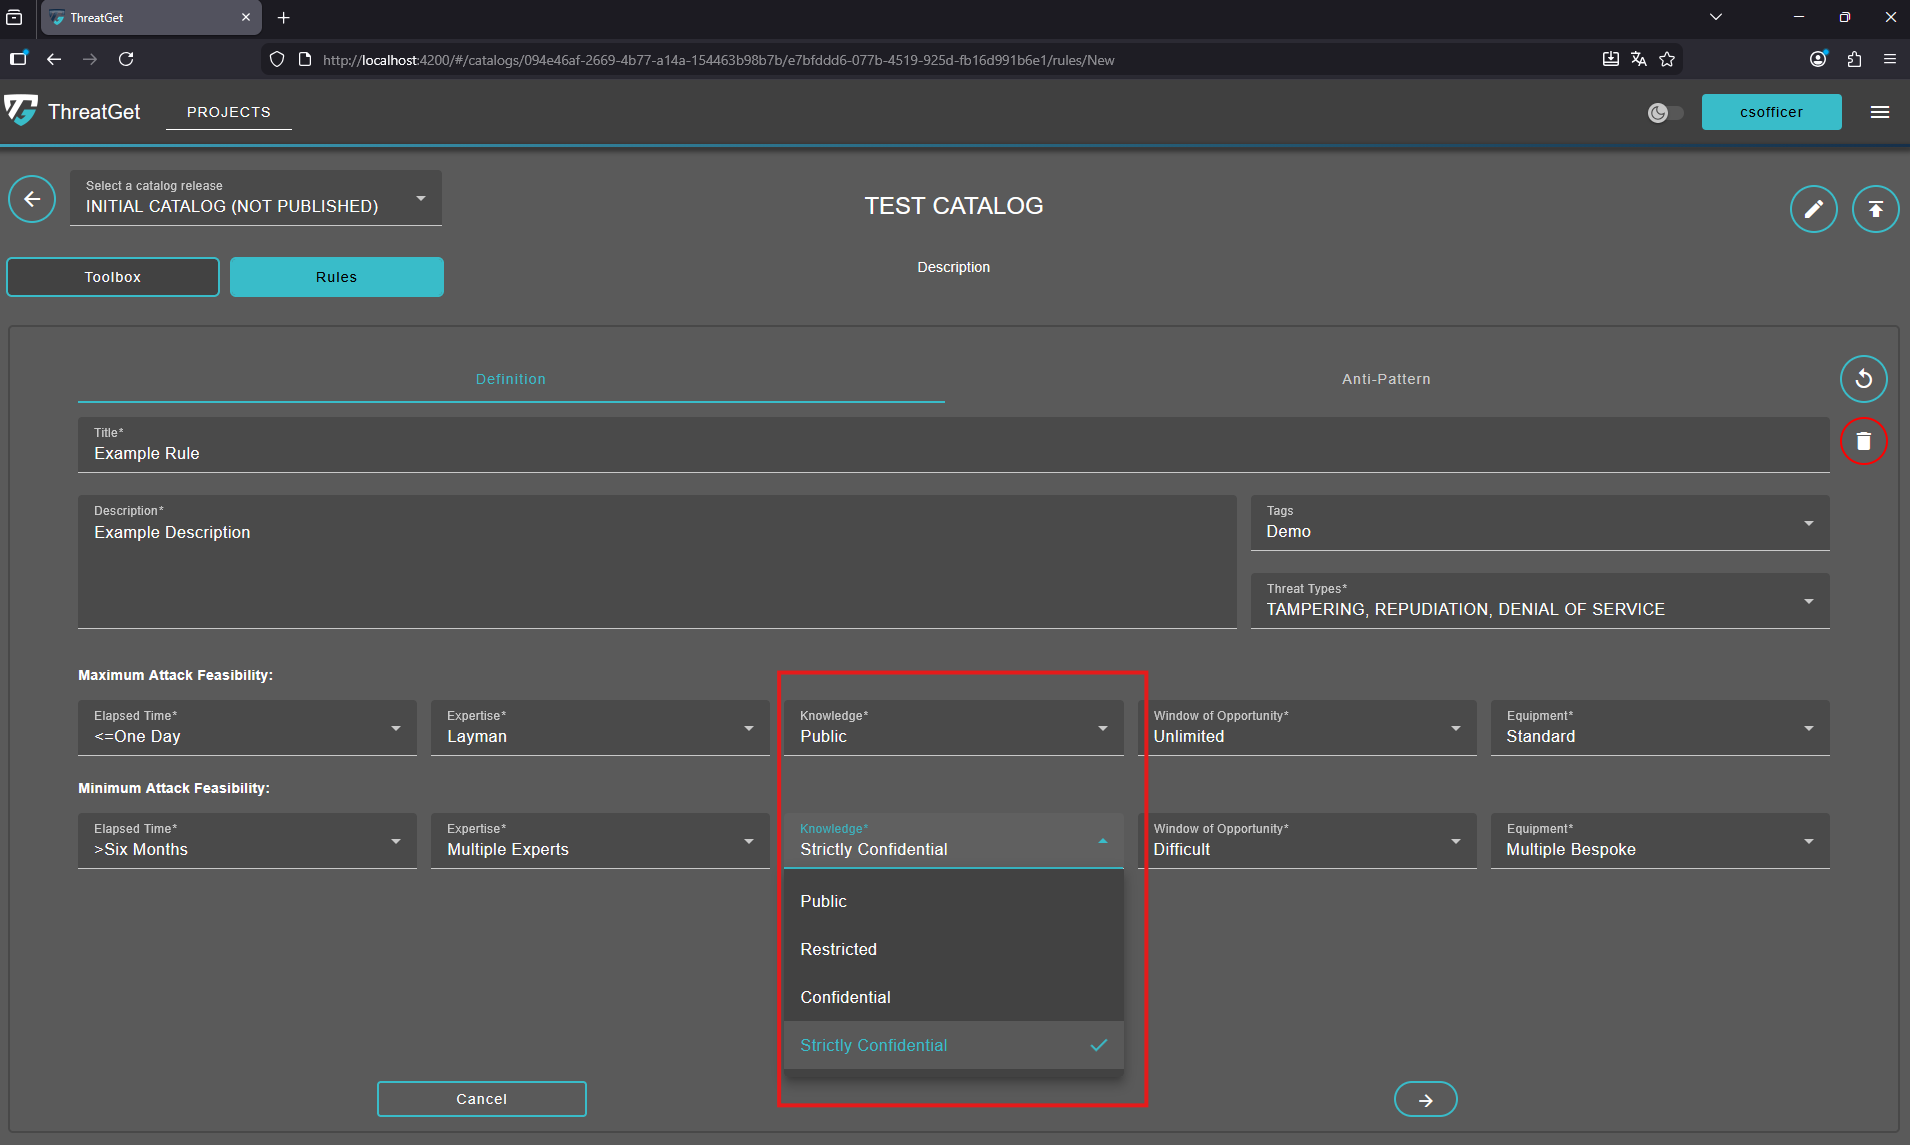
Set the required Maximum and Minimum Attack Feasibility of Knowledge.
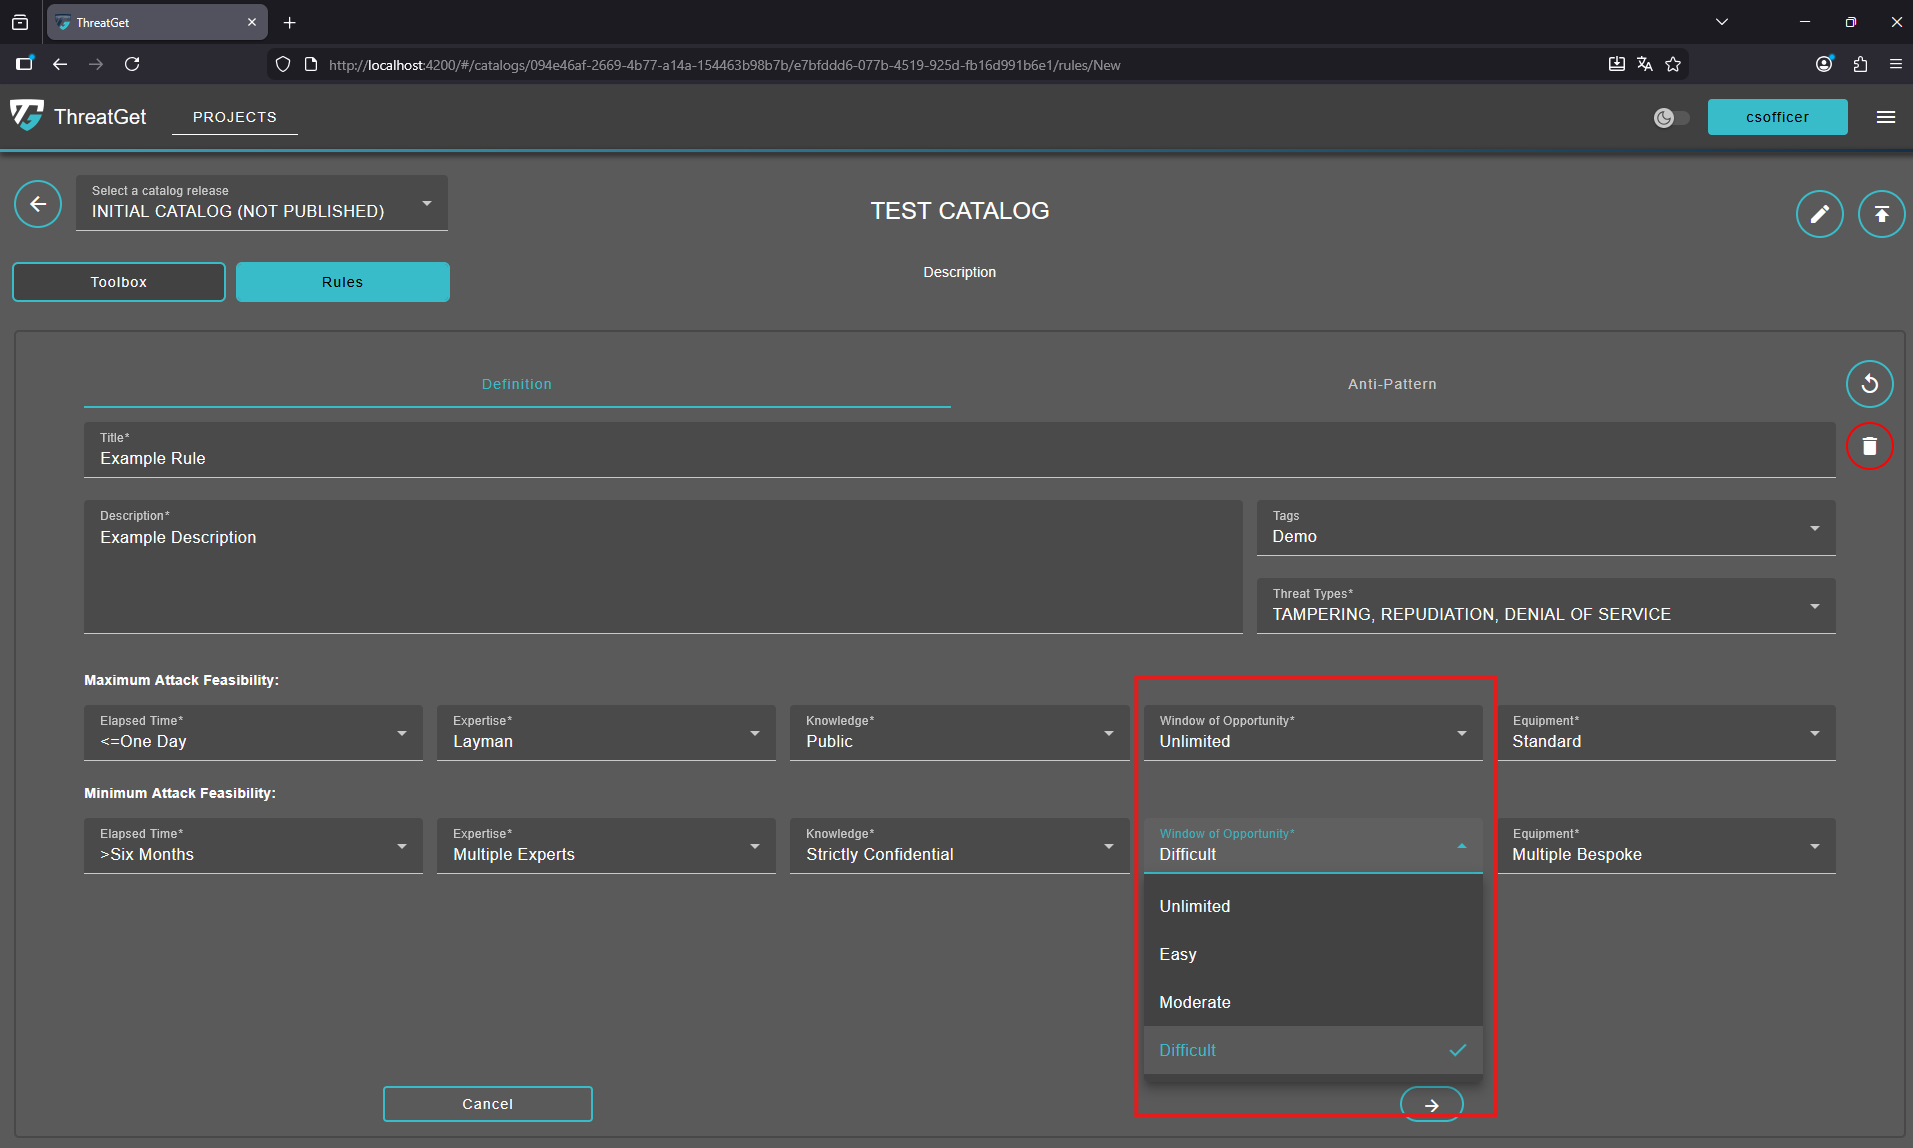
Set the required Maximum and Minimum Attack Feasibility of Window of Opportunity.
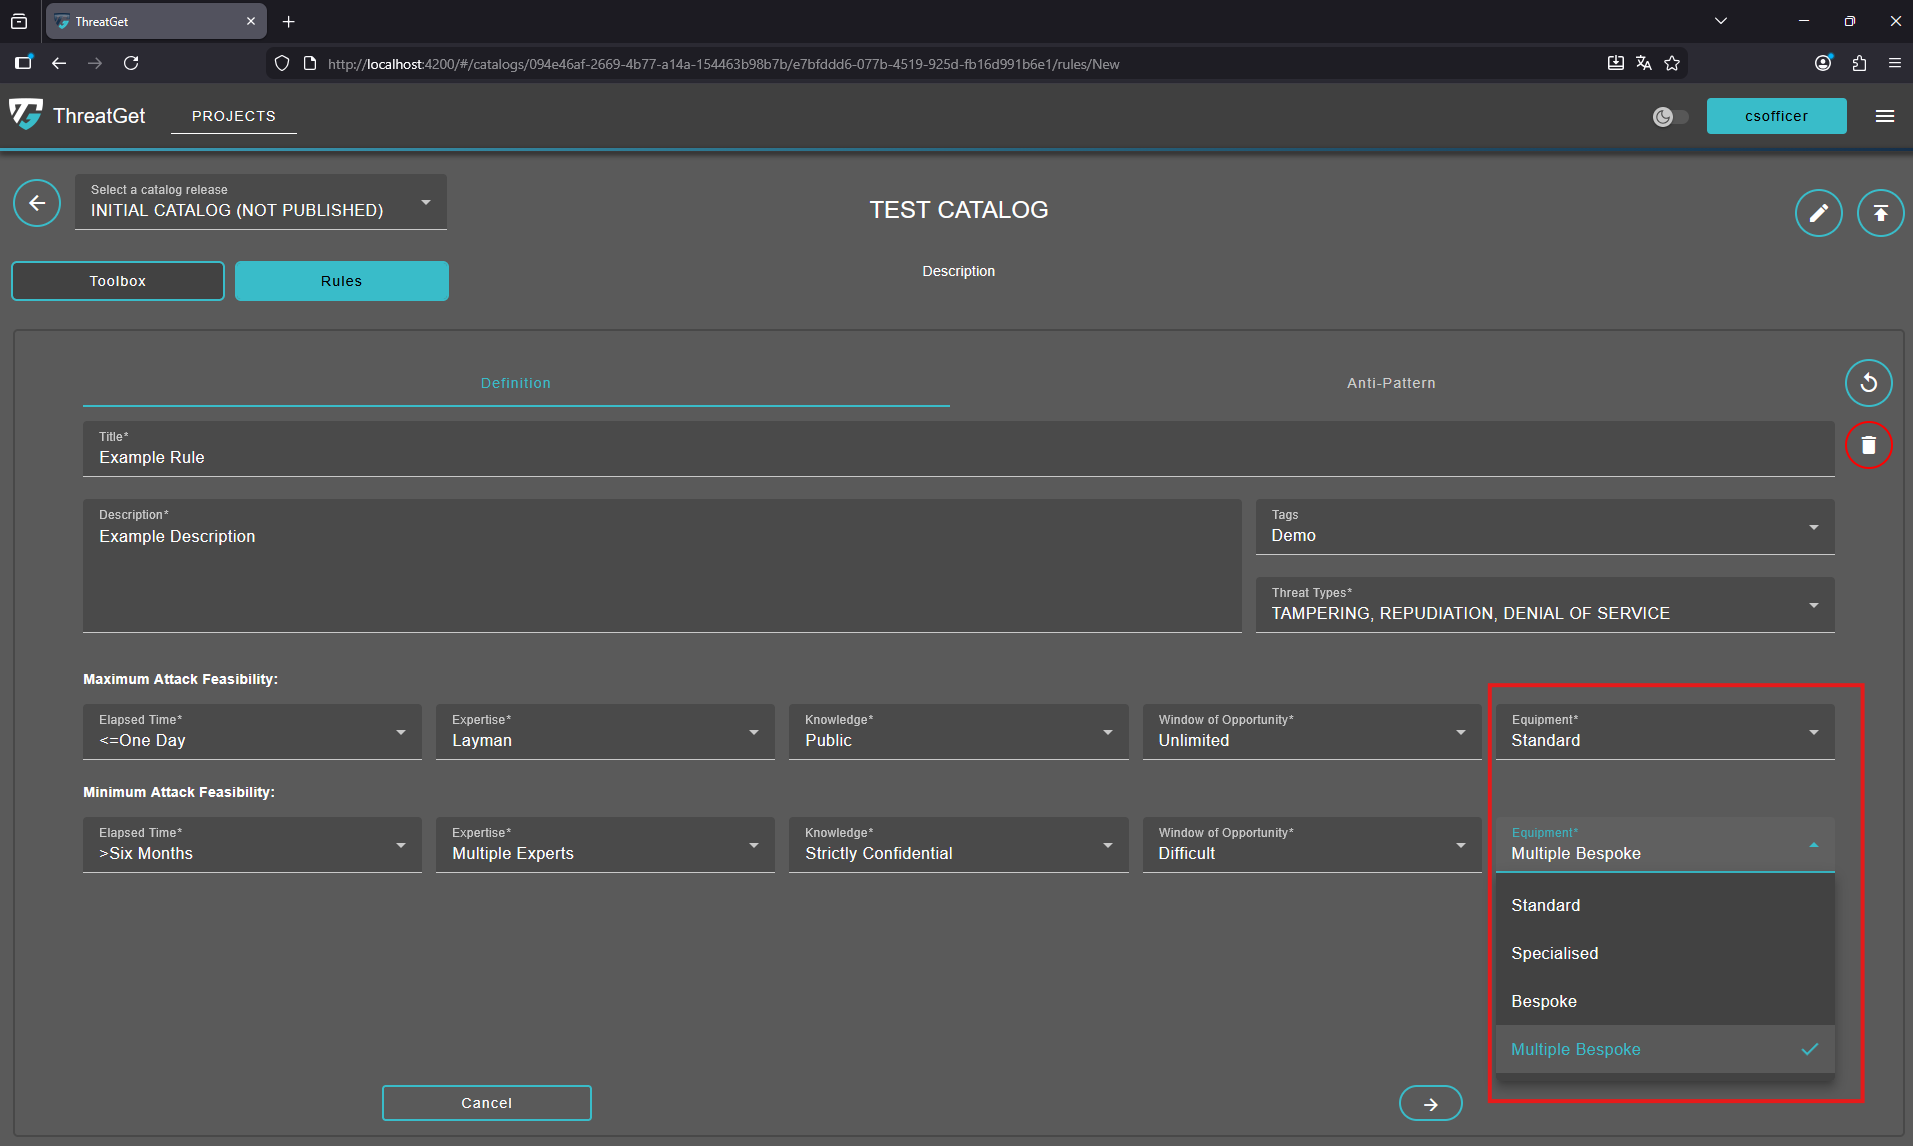
Set the required Maximum and Minimum Attack Feasibility of Equipment.
To learn more about the attack feasibility in ThreatGet please see see the documentation for the attack feasibility.
Circular Arrow: Undo any changes.

Trash Can: Cancel the creation of the new element or delete an element, click on the Trash Can.

To proceed to the Anti-Pattern section click on the "Next" button or the "Anti-Pattern" tab.
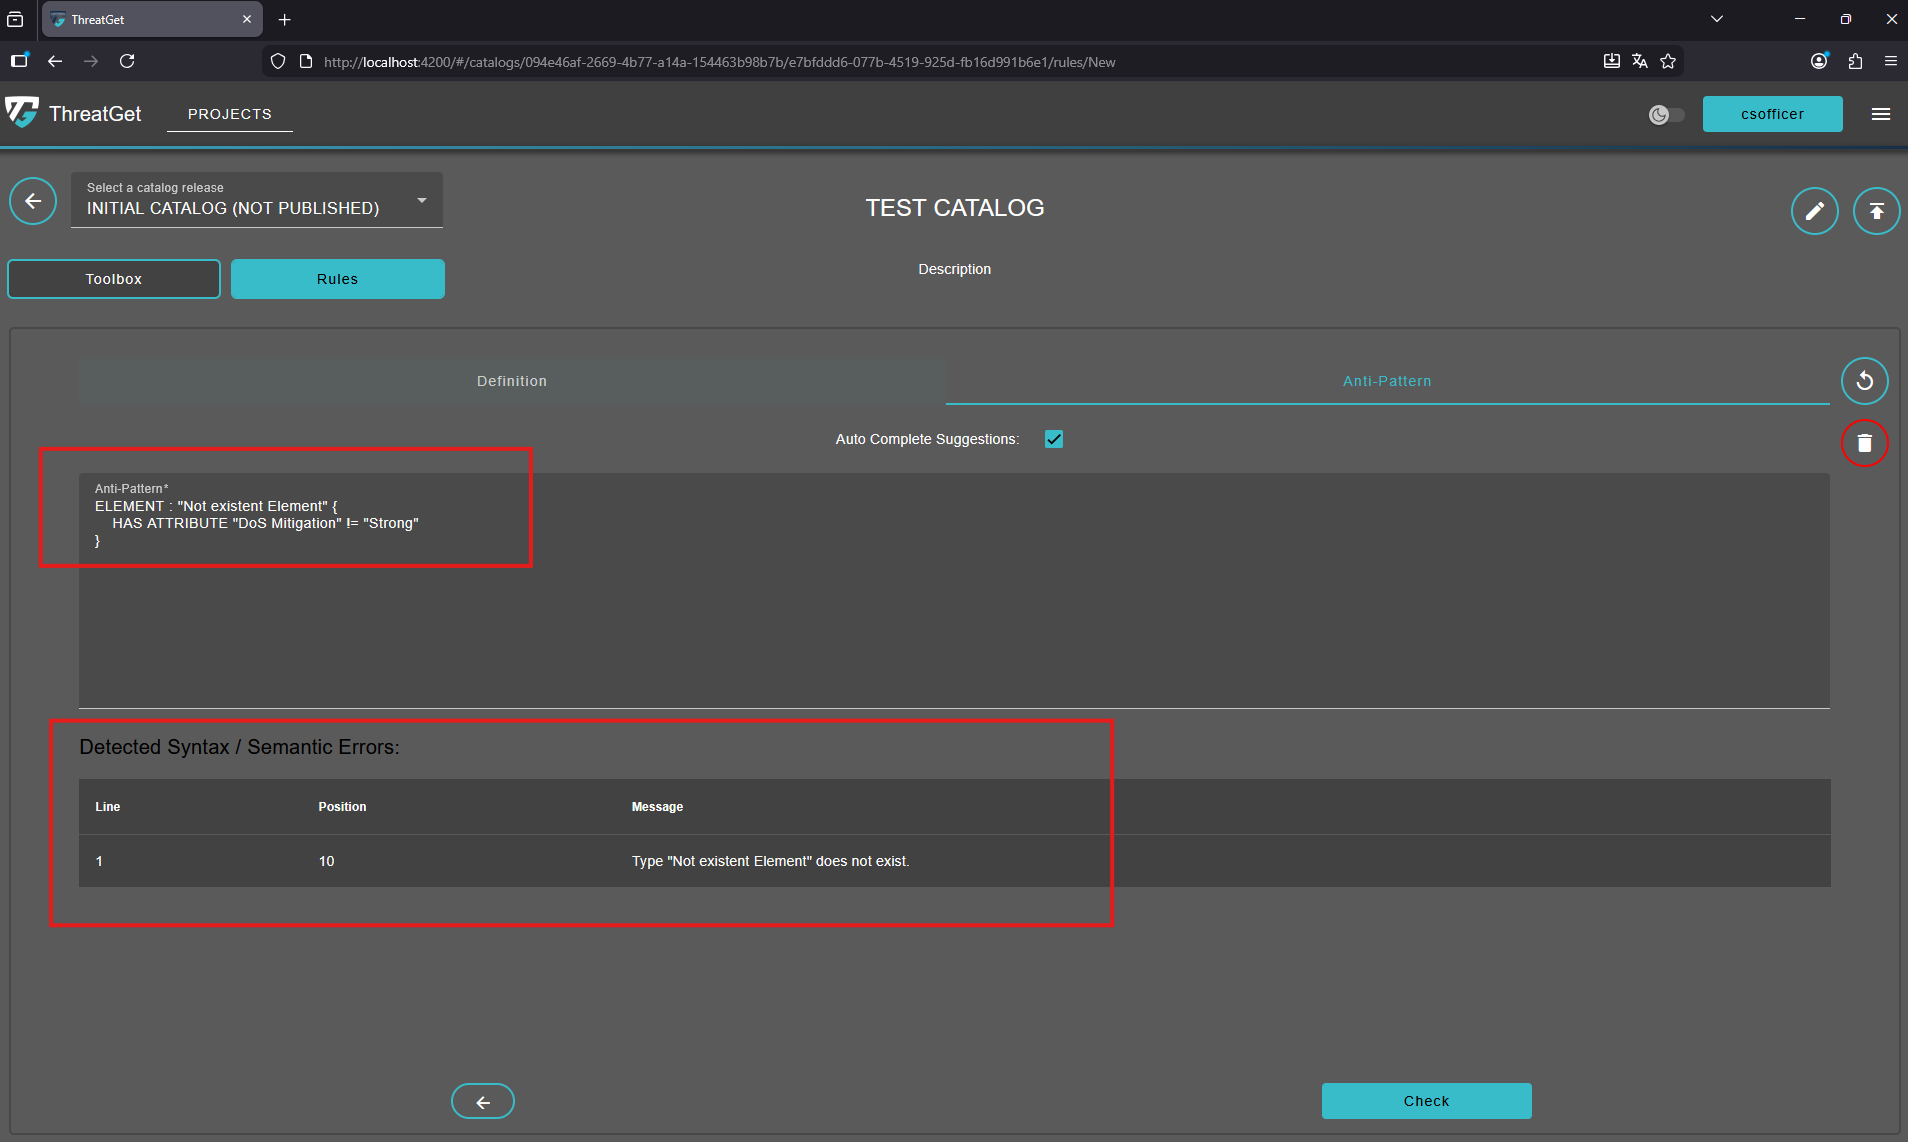
Anti-Pattern
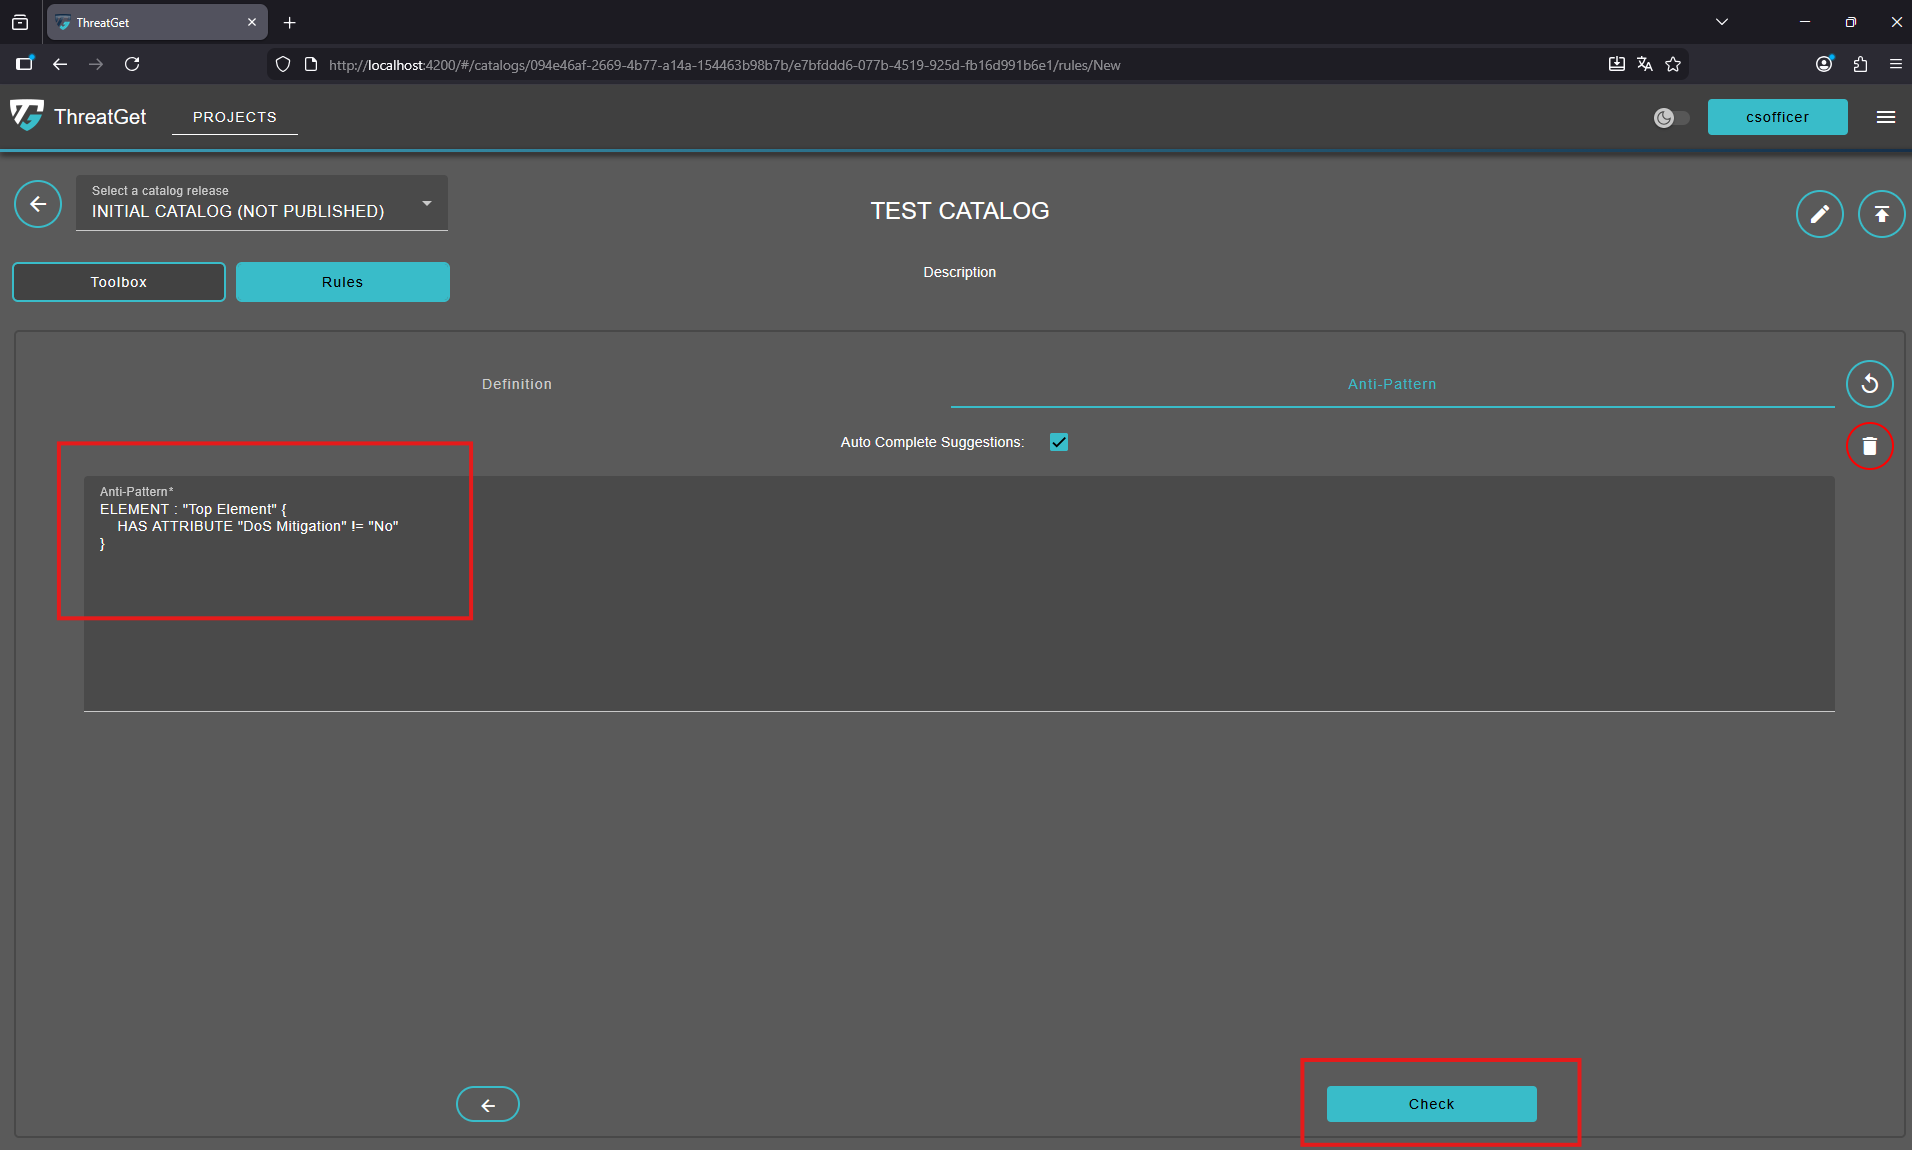
The second tab Anti-Pattern is used to write the main rule text. In our example, we will check the DoS Mitigation security control of the Top Element.
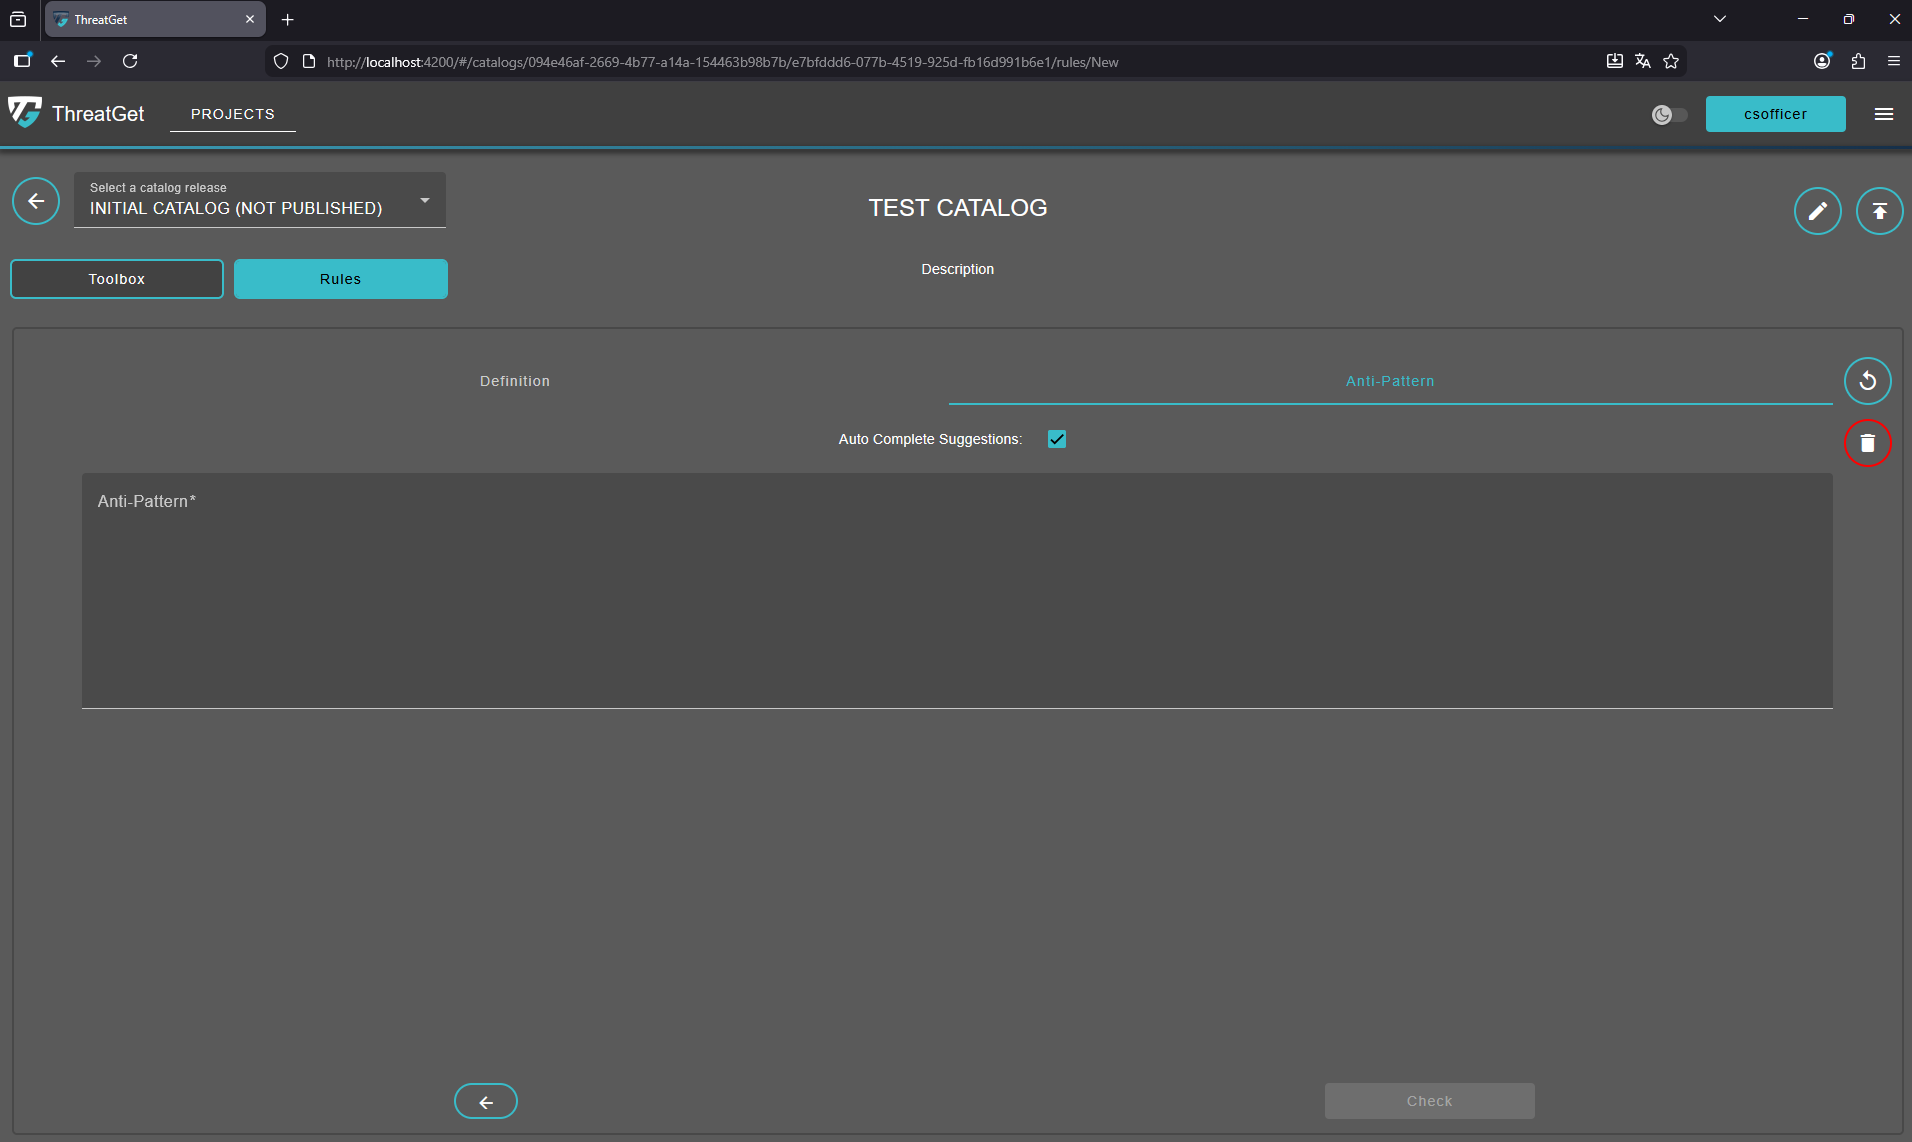
Enter the following text int the "Anti Pattern" text area:
ELEMENT : "Top Element" {
    HAS ATTRIBUTE "DoS Mitigation" != "No"
}
To learn how the syntax of rules works please see the documentation for rule creation. To proceed click on the "Check" button on the right side at the buttom of the screen.
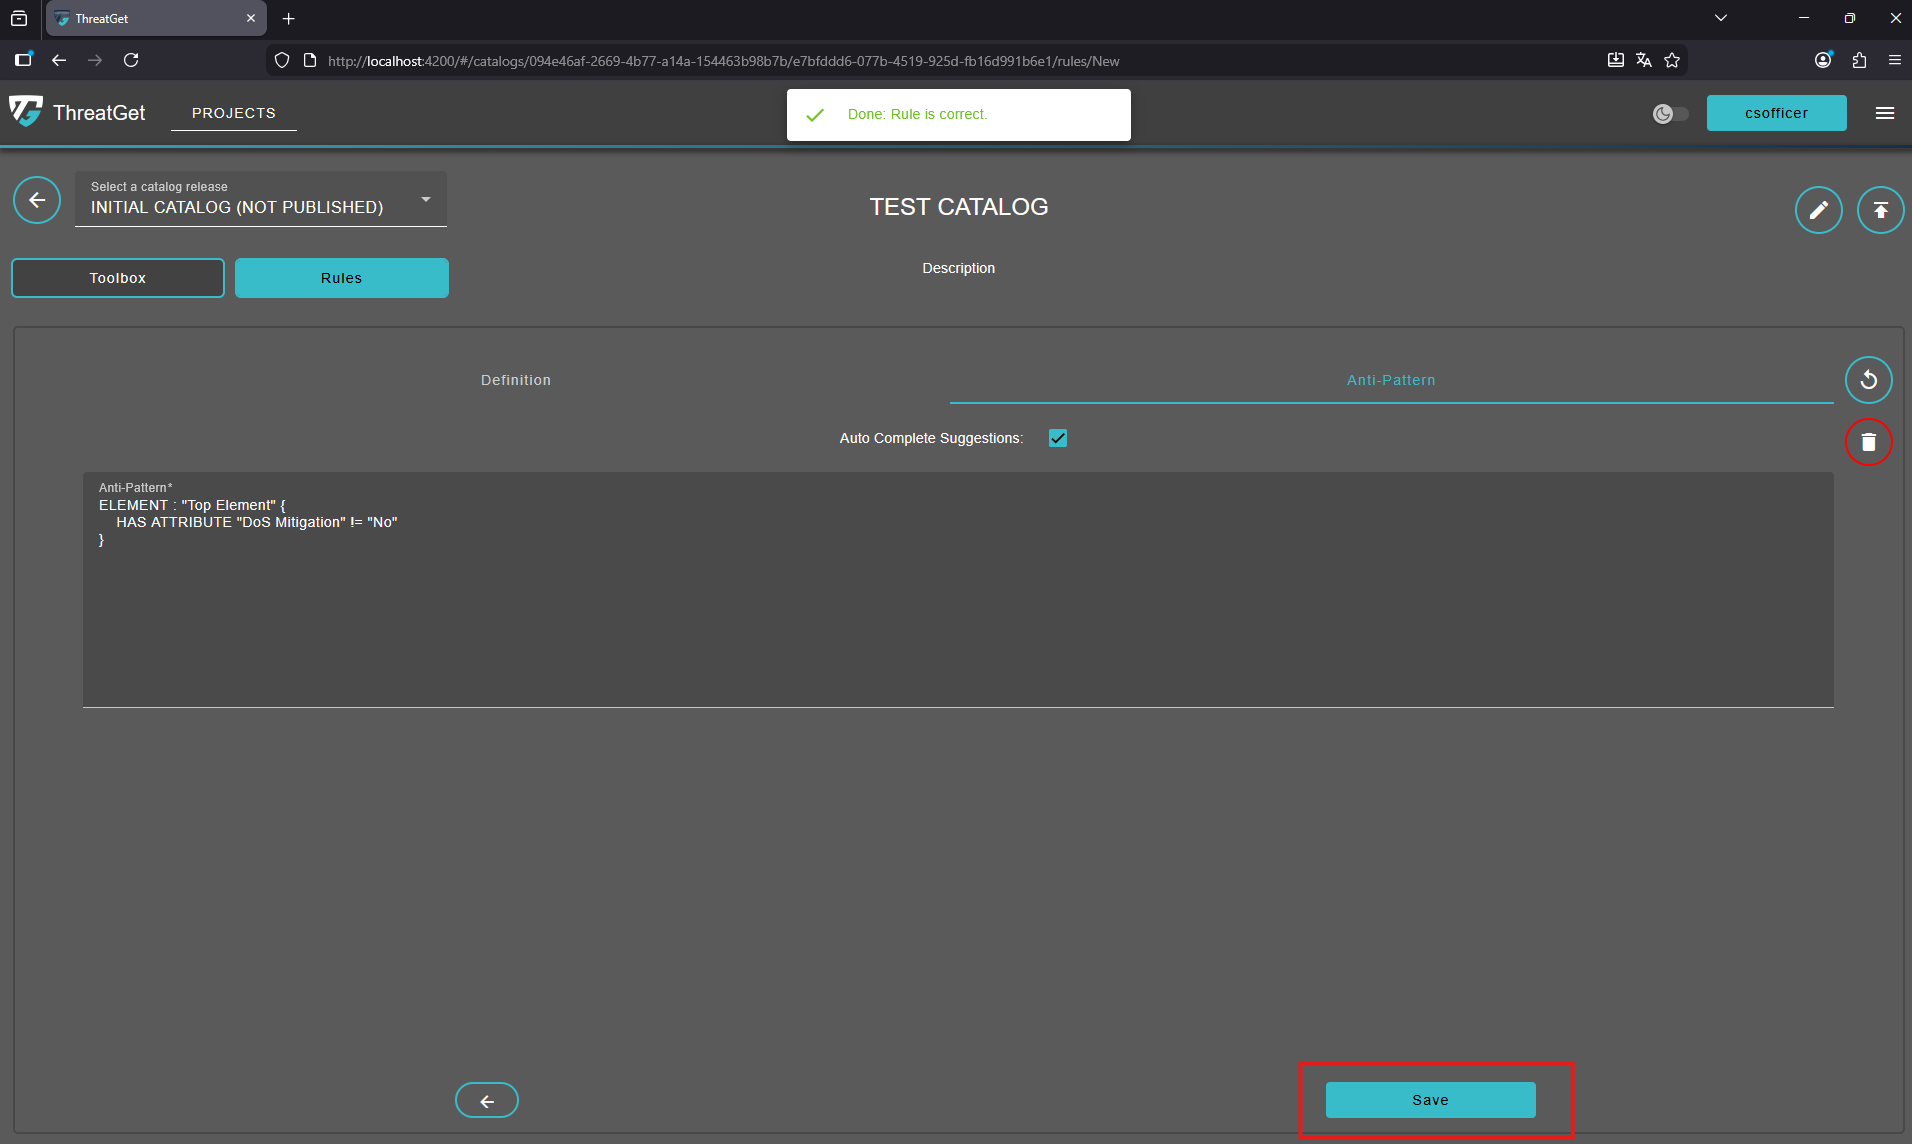
The application now automatically verifies in the background whether the rule you entered is syntactically correct.
It also ensures that all referenced elements and properties exist and are correctly associated with each other.
As a result, the “Check” button has been replaced by a “Save” button, indicating that the rule is valid and ready to be saved. Once saved, the rule will appear in the list together with the previously saved rules.
You are also able to search for rules with inside the Search Bar of the rules overview page.
However, if the rule text has an error, say the user defines a name of a non-existing element, a table with the error type and more information appears on the screen.